Introduction
Crafting a custom corduroy hat is not just a fun project; it's a chance to express individuality and creativity through fashion. Whether it’s the rich texture of the corduroy fabric, the unique pattern you choose, or the personal touches you add, every step of the process allows for a personal touch.
From selecting the right materials and tools to exploring various design options, this article will guide you through the essentials of creating a hat that reflects your style. With a blend of practical tips and inspiration, readers will discover how to not only assemble their hat but also make it truly their own.
So, roll up those sleeves and get ready to dive into the world of custom hat-making!
Essential Materials and Tools for Your Custom Corduroy Hat
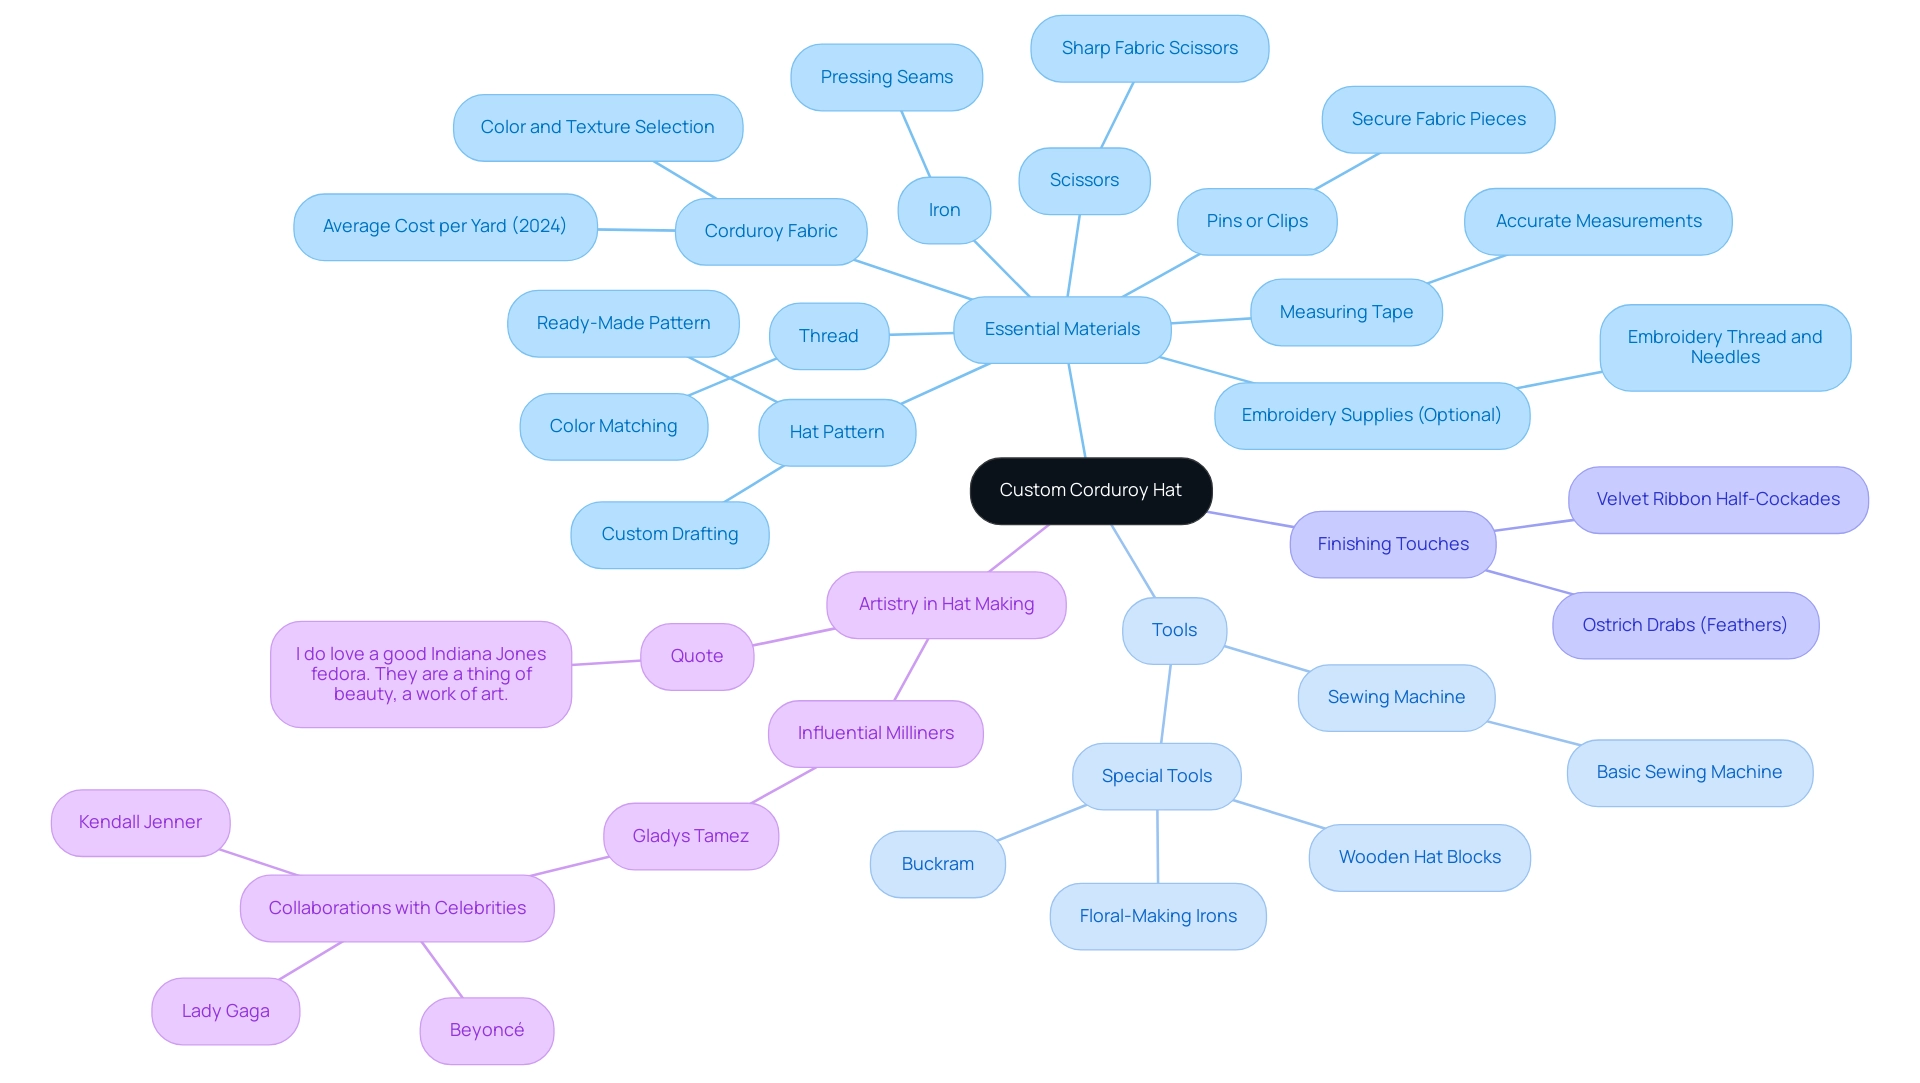
Creating a custom corduroy hat is an exciting project that allows for personal expression. To get started, gather the following essential materials:
-
Corduroy Fabric: Choose a color and texture that resonates with your style. Typically, one yard will suffice for a standard hat.
Remember, the average cost of ribbed fabric per yard in 2024 is an important consideration as you plan your project. -
Hat Pattern: You can either purchase a ready-made pattern or unleash your creativity by drafting your own.
- Sewing Machine: A basic sewing machine is perfect for this project, making it accessible for beginners and seasoned crafters alike.
- Thread: Opt for a thread color that matches your fabric to create a polished and seamless finish.
- Scissors: Invest in sharp fabric scissors to ensure clean and precise cuts.
- Measuring Tape: Accurate measurements are crucial for achieving the perfect fit.
- Pins or Clips: These handy tools will keep your fabric pieces securely in place while you sew.
- Iron: A hot iron is essential for pressing seams and ensuring your fabric is smooth before assembly.
- Embroidery Supplies (optional): If you want to personalize your hat with unique designs, have your embroidery thread and needles at the ready.
Additionally, consider using special tools that milliners frequently employ, such as wooden hat blocks for shaping and floral-making irons for creating hat decorations. These tools can significantly enhance the quality and craftsmanship of your custom corduroy hat. The finished trimming can include elements like velvet ribbon half-cockades and ostrich drabs (feathers), which are sewn together, curled, and shaped with steam, adding a refined touch to your creation.
By collecting these materials, you're setting yourself up for a smooth and enjoyable crafting experience.
Remember, as you embark on this creative journey, the right tools and materials are key to bringing your vision to life. The skill involved in hat making is evident in the creations of prominent milliners like Gladys Tamez, who has teamed up with stars such as Beyonce and Lady Gaga, highlighting the potential of superior materials. As one enthusiastic crafter put it,
I do love a good Indiana Jones fedora.
They are a thing of beauty, a work of art.
This sentiment emphasizes the artistry and innovation involved in hat creation, particularly with the newest trends in velveteen material for 2024.

Step-by-Step Guide to Designing and Assembling Your Corduroy Hat
Creating a personalized fabric hat, such as a custom corduroy hat, can be an enjoyable and fulfilling craft! Follow these steps to design and assemble your unique piece:
-
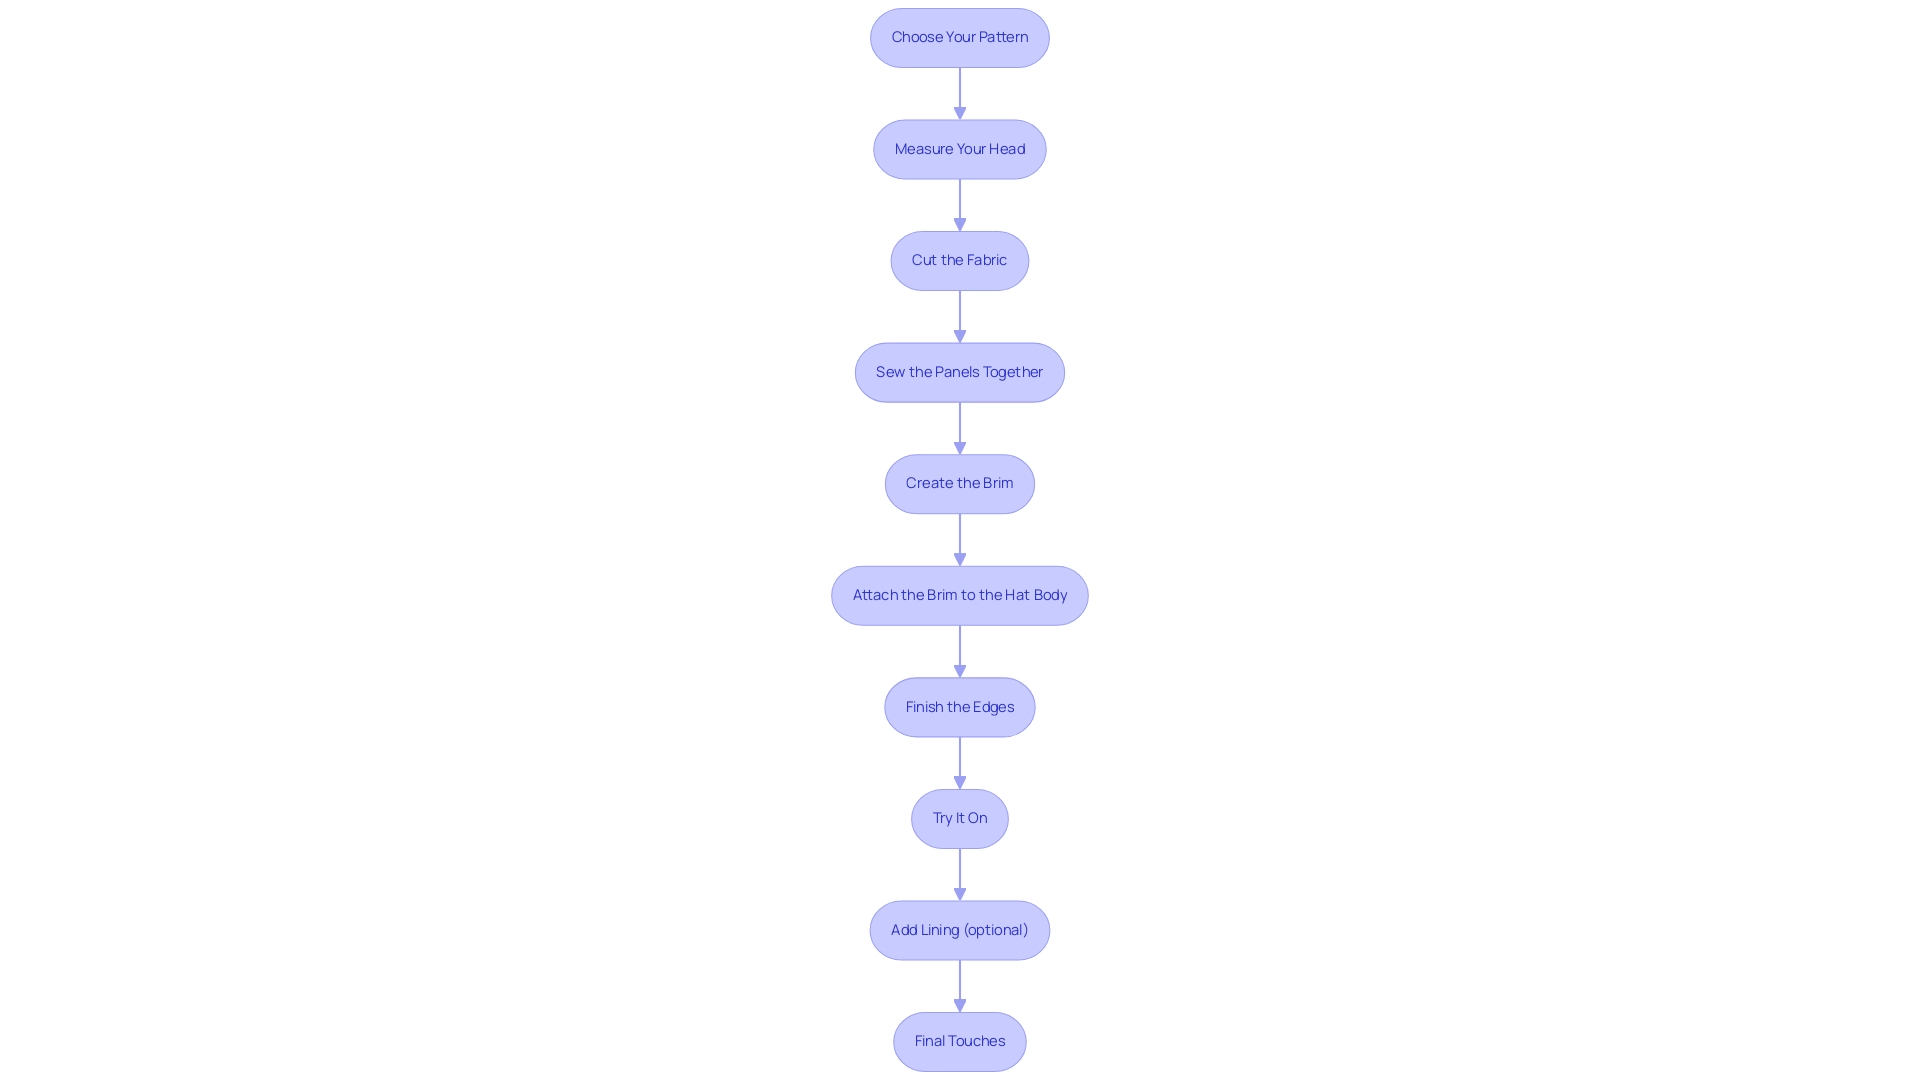
Choose Your Pattern: Start by selecting a hat pattern that resonates with your style.
Whether you prefer a classic baseball cap, a trendy bucket hat, or something else entirely, the right pattern sets the foundation for your project. -
Measure Your Head: Grab a measuring tape and measure your head circumference.
This step is crucial to ensure your hat fits comfortably.
After all, a well-fitting hat can make all the difference! -
Cut the Fabric: Lay your chosen pattern on the textured fabric, pin it down securely, and carefully cut around it, leaving some seam allowance.
Precision in this step will pay off later. -
Sew the Panels Together: Follow the pattern instructions to sew the main panels of your hat together.
This is where your design starts to take shape! -
Create the Brim (if applicable): If your chosen design includes a brim, cut and sew it according to the pattern.
This step adds character and functionality to your hat. -
Attach the Brim to the Hat Body: Pin the brim to the main body of the hat and sew it securely.
Make sure it's attached firmly to withstand daily wear. -
Finish the Edges: Use a zigzag stitch or a serger to finish the raw edges.
This prevents fraying and gives your hat a polished look. -
Try It On: Before making any final touches, try the hat on to check the fit.
This is your chance to make any necessary adjustments for the perfect fit. -
Add Lining (optional): For an extra touch of sophistication, consider adding a lining to the inside of your hat.
It can elevate the overall appearance and comfort. -
Final Touches: Give your hat a press with an iron to smooth out any wrinkles and achieve a clean finish.
Your custom corduroy hat is now ready to wear!
As you embark on this creative journey, remember that the average time to sew a custom corduroy hat can vary, but with patience and attention to detail, you'll create a custom corduroy hat that showcases your unique style.
Additionally, keep in mind that delivery estimates for materials can exceed 16 business days, so plan accordingly.
As Pritha Bhandari wisely said, 'Actively smiling leads to more happiness than not smiling,' so enjoy the crafting process!
For inspiration, consider the Simplicity US8573A Vintage Fashion Women's Flapper Hats, which offer sewing patterns in various sizes and are available for $13.01 with immediate shipping options.

Customization Options: Making Your Corduroy Hat Unique
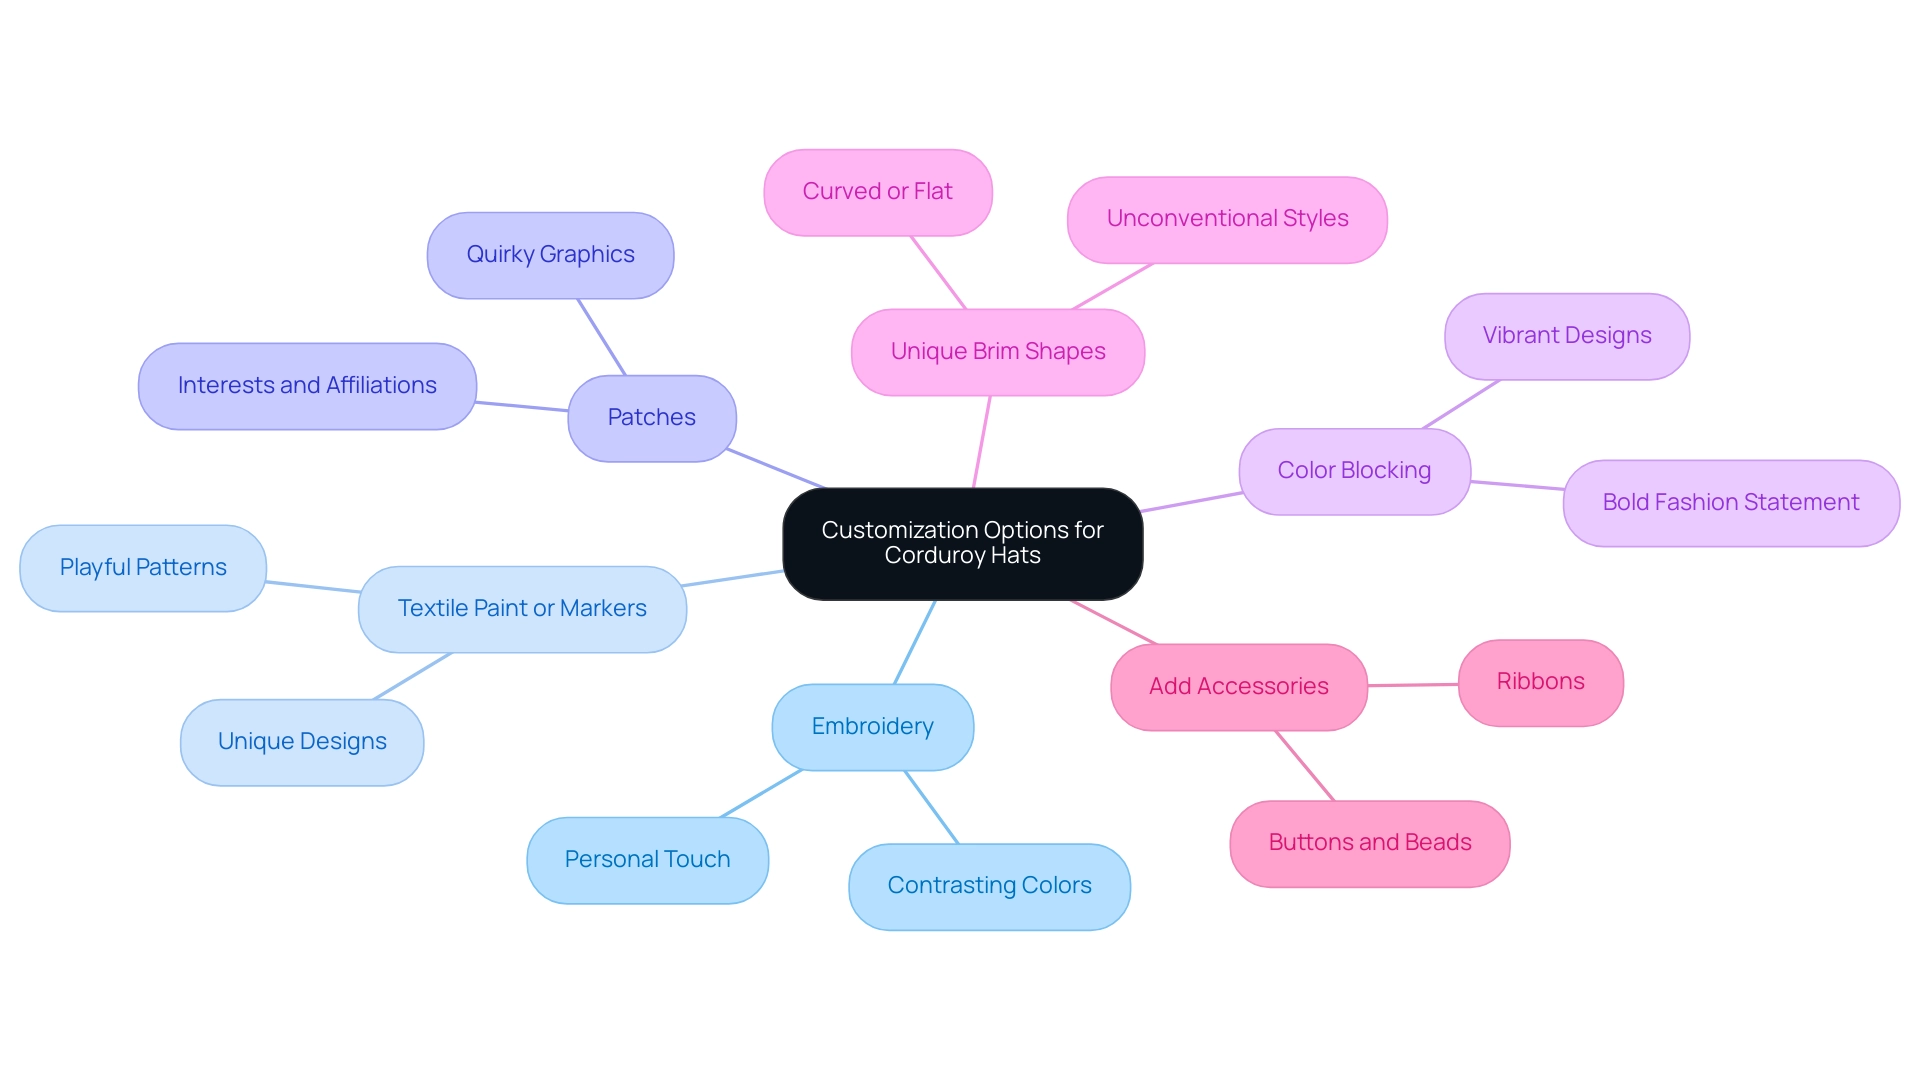
Transforming your fabric trucker hat into a custom corduroy hat that truly reflects your personality has never been easier! Here’s a lineup of exciting customization options that will set your hat apart:
- Embroidery: Infuse a personal touch by adding your initials, a favorite quote, or a whimsical design through embroidery. Opt for contrasting colors to create a striking visual impact that catches the eye.
- Textile Paint or Markers: Unleash your creativity with textile paint or markers to craft unique designs or playful patterns. This approach offers an exciting way to showcase your individual style and flair.
- Patches: Personalize your hat with patches that resonate with your interests or affiliations. Whether it’s logos, symbols, or quirky graphics, patches allow for a fun and expressive twist.
- Color Blocking: Elevate your style by employing different colors of textured fabric to create a vibrant color-blocked design. This technique not only adds visual interest but also makes a bold fashion statement.
- Unique Brim Shapes: Dare to be different by experimenting with various brim shapes—curved, flat, or something unconventional. This simple tweak can dramatically personalize your look.
- Add Accessories: Bring your hat to life by incorporating playful elements like buttons, beads, or ribbons. These embellishments can enhance your hat's charm and uniqueness.
As Brian Moore, VP of NICCA USA, Inc., states, "The quality of research they have done for us has been excellent," emphasizing the importance of quality in customization. In 2024, trends in hat customization are projected to grow, with consumers increasingly seeking options like custom corduroy hats that reflect their identities. Just as high-quality manufacturing processes ensure the durability and appeal of tailored apparel, maintaining rigorous standards in hat personalization is essential for delivering unique yet reliable accessories.
These customization options empower you to express your individuality, turning your hat into a one-of-a-kind accessory that truly represents who you are!

Care and Maintenance Tips for Your Custom Corduroy Hat
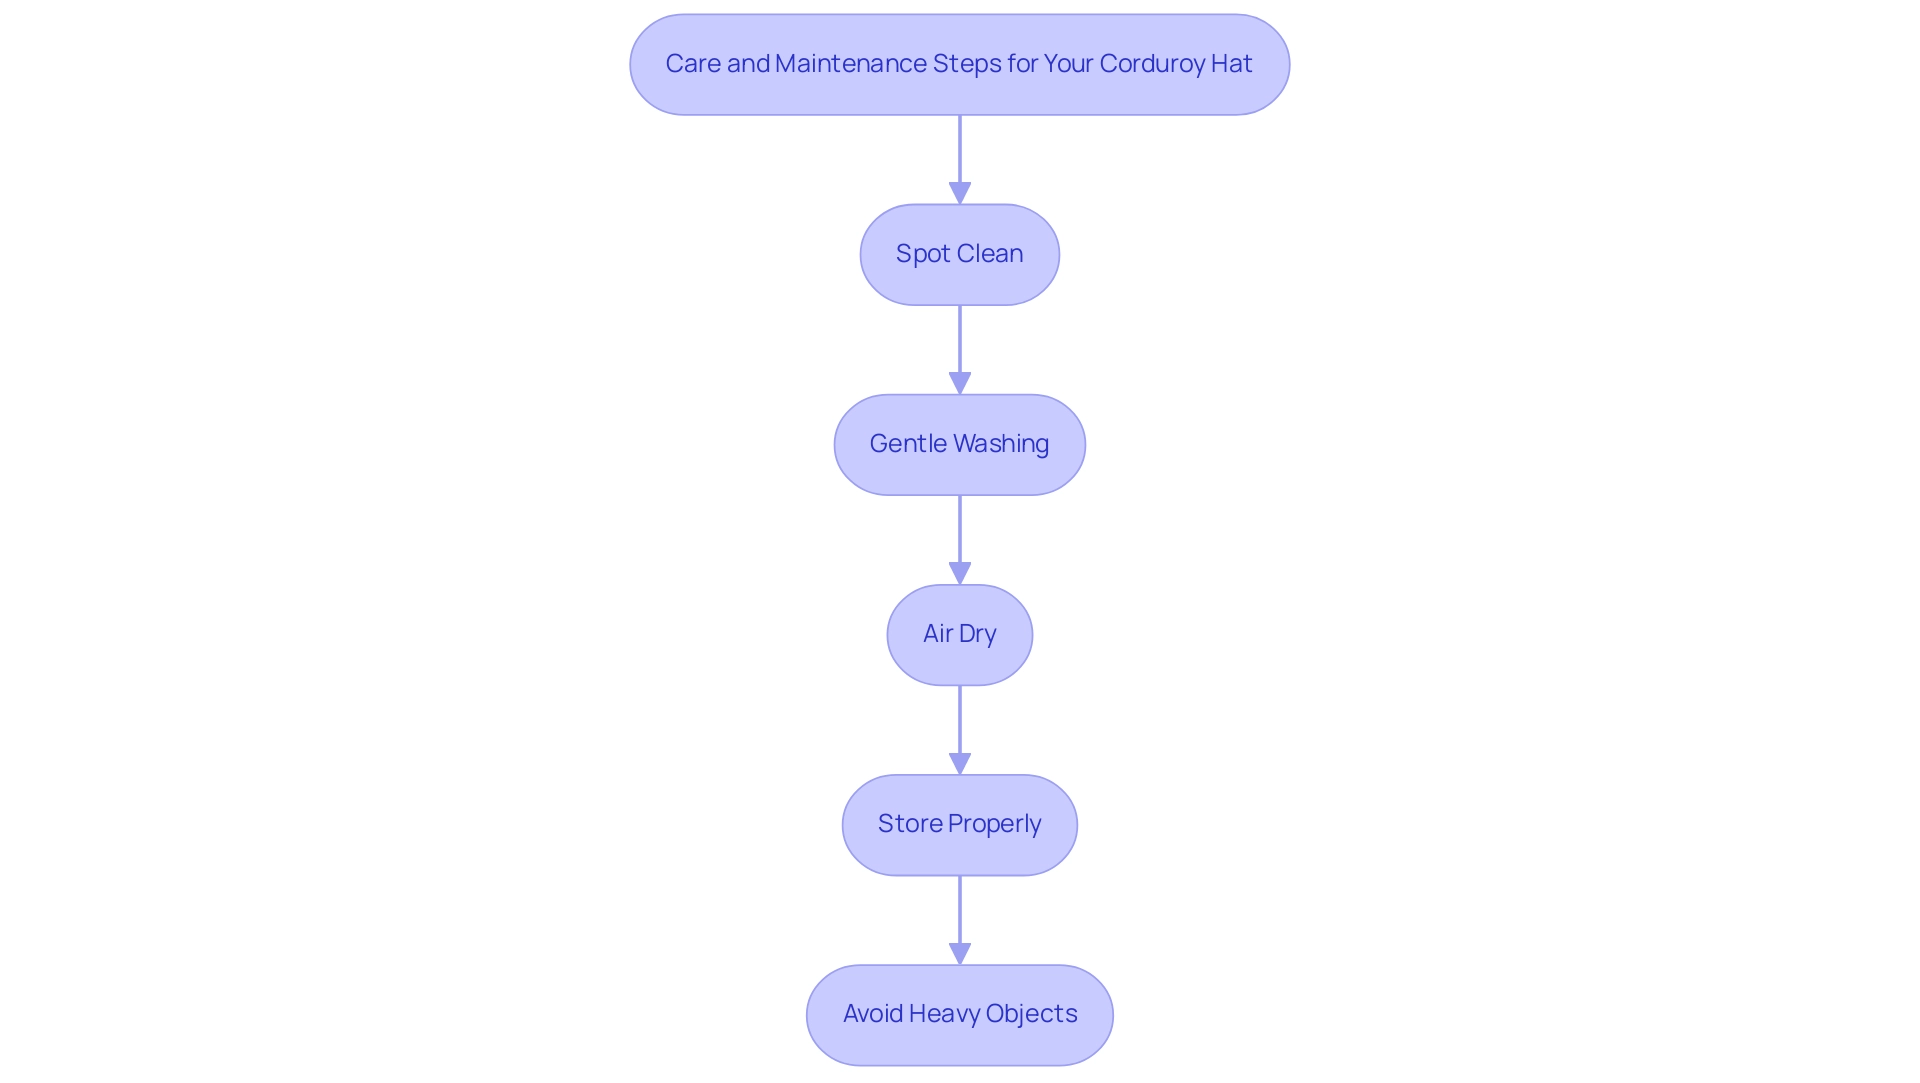
To keep your custom corduroy hat looking fresh and stylish, it's essential to follow these tips for care and maintenance:
- Spot Clean: Quickly address any stains or spills on your custom corduroy hat by using a damp cloth. This eliminates the requirement for thorough cleaning and safeguards the material from harm.
- Gentle Washing: For a more thorough cleaning, opt for hand washing in cold water with a mild detergent.
Steer clear of bleach or any harsh chemicals that could harm the material’s integrity. Cynthia Gao advises,When machine washing textured clothes, always start by turning the items inside out to protect the fabric's surface and nap — a tip that’s particularly relevant for keeping your hat in top shape.
- Air Dry: After washing, lay your hat flat on a clean surface to air dry.
Avoid placing it in direct sunlight, which can cause fading over time. - Store Properly: When you’re not wearing your hat, store it in a cool, dry place using breathable canvas bags, ideally hung to prevent wrinkles. This practice helps maintain its shape and keeps it dust-free.
Regularly check for lint and dust to ensure it stays looking fresh. - Avoid Heavy Objects: Steer clear of placing anything heavy on top of your hat; this can lead to unsightly distortions. According to the case study titled 'How to Maintain Its Appearance,' preserving this fabric's look involves regular lint removal, careful washing, air drying, and proper storage to prevent moisture buildup.
By following these simple yet effective tips, you can ensure that your custom corduroy hat remains a cherished accessory for years to come, ready to make a statement whenever you wear it. For more tips on maintaining your custom accessories, check out our additional resources!

Conclusion
Crafting a custom corduroy hat is an enriching experience that combines creativity with personal expression. By gathering the right materials and tools, such as quality corduroy fabric and essential sewing supplies, the foundation for a stunning piece is laid. Following a step-by-step guide ensures a seamless assembly process, allowing for adjustments that enhance fit and comfort.
Customization options further elevate the creative journey, offering opportunities to infuse personal touches through embroidery, fabric paints, and unique embellishments. These choices not only make the hat a reflection of individual style but also align with the growing trend of personalized fashion in 2024.
Lastly, maintaining your custom creation is just as important as making it. Adhering to care tips like spot cleaning and proper storage will keep your hat looking fresh and stylish for years to come. Ultimately, this project is not just about creating a hat; it's about embracing the joy of crafting and showcasing one's unique identity through fashion. So, gather those materials, let creativity flow, and enjoy every moment of your hat-making adventure!


