Introduction
Crafting custom coasters is more than just a fun DIY project; it's an opportunity to express creativity and bring personal flair into any space. With a few essential materials and a sprinkle of imagination, anyone can transform simple items into unique pieces of art that serve both function and style.
From choosing the right base material to adding decorative elements, this guide will walk through the exciting process of coaster creation. Whether it's for a cozy night in or a gathering with friends, the journey of making personalized coasters can spark joy, foster connection, and even inspire future crafting adventures.
Let's dive into the steps and tips that will turn ordinary coasters into extraordinary reflections of individual style.
Essential Materials for Custom Coaster Creation
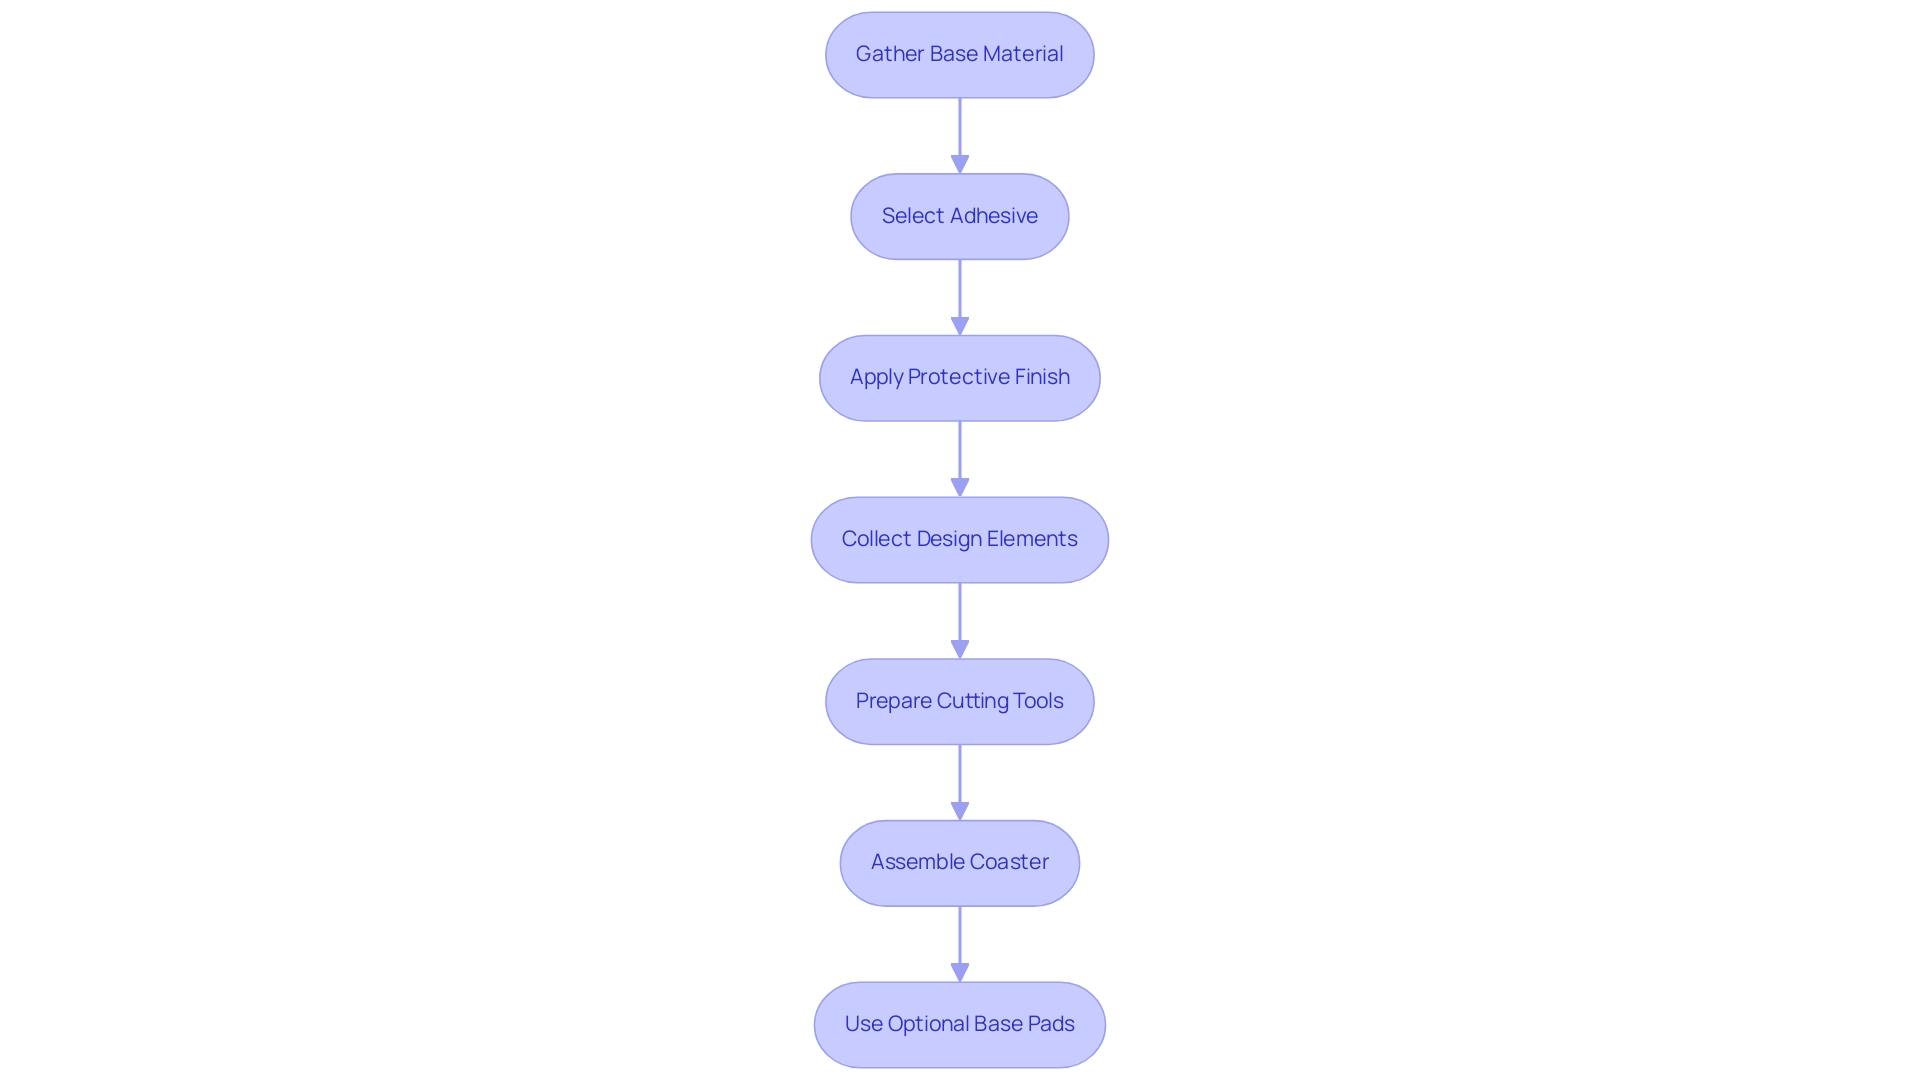
Creating your own custom coaster can be a rewarding and enjoyable project, especially when you understand the processes involved. To get started, gather these essential materials:
- Base Material: Your choice of cork, wood, ceramic, or stone will set the foundation for your coasters.
Each option offers its own unique aesthetic and durability, making it essential to enhance your arrangement accordingly. - Adhesive: A reliable craft glue or Mod Podge is perfect for securing your designs to the base material, ensuring they stay intact.
- Protective Finish: To safeguard your surfaces from moisture and daily wear, apply a sealant such as polyurethane or a clear acrylic spray.
This step is crucial for longevity and showcases the importance of finishing processes in your project. - Design Elements: Collect decorative papers, fabrics, or printed images that resonate with your style to personalize your custom coasters and make them truly unique.
Remember to create a digital layout first, whether it’s a logo or artwork, using graphic creation software to ensure it’s optimized for your chosen substrate. - Cutting Tools: Have scissors or a craft knife ready to trim your supplies to the desired size.
For a precise finish, consider using a cutting mat and a straight edge to ensure clean lines when cutting. - Assembly: Once your designs are adhered to the base substance, allow them to dry completely.
Depending on your project, you may want to layer multiple materials or add additional embellishments, ensuring everything is securely attached before proceeding. - Optional: Consider using base pads or felt pads to prevent scratches on your surfaces, adding an extra layer of protection.
Before you begin, it’s advisable to wear an apron or old clothes to protect against spills and stains during the art process. Additionally, if you’re blending or diluting inks for your designs, using 99% isopropyl alcohol is recommended for optimal results. Remember, experimenting with different techniques can lead to delightful surprises in your artistic journey.
And don’t forget to check out my YouTube channel for more tips and tutorials—subscribe to stay updated on future videos!

Step-by-Step Guide to Making Your Own Custom Coasters
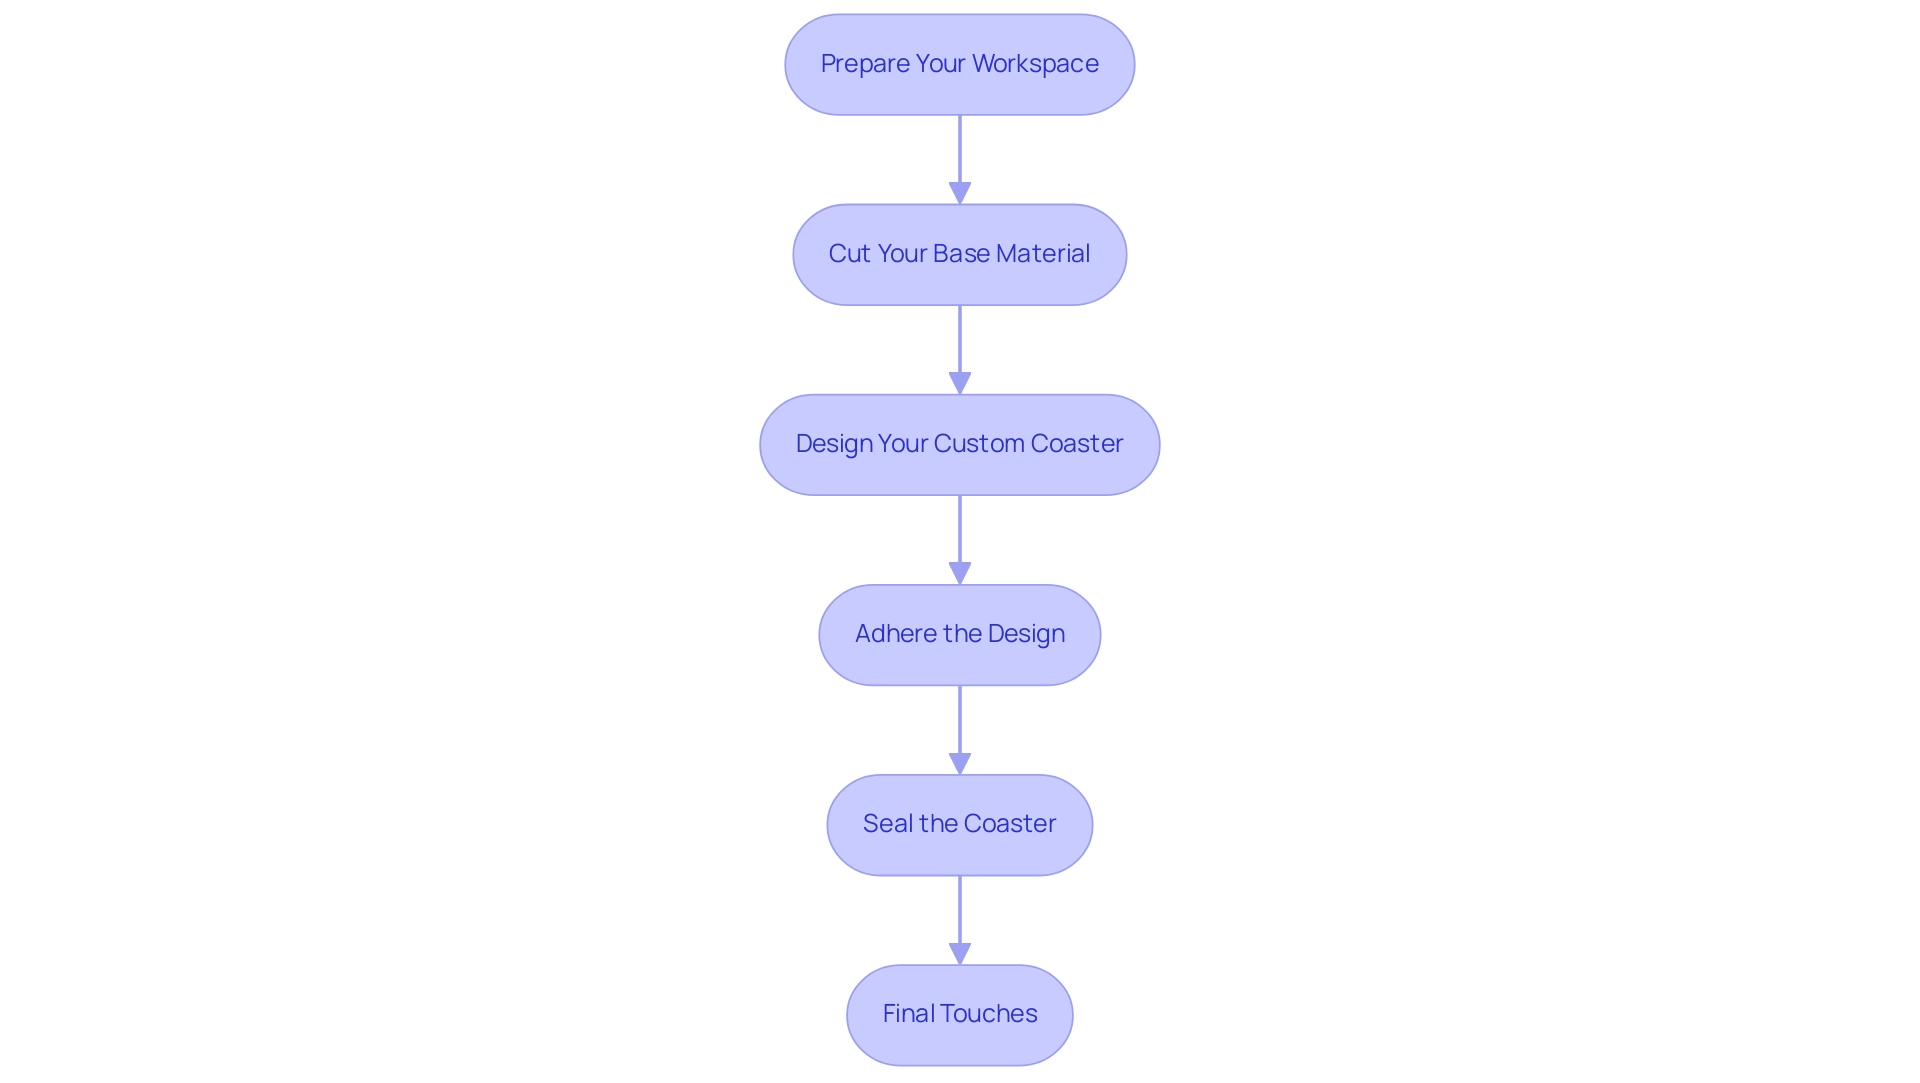
Creating custom coasters can be an enjoyable and fulfilling endeavor, ideal for a gathering or a snug evening at home. In fact, a recent DIY project hosted as a girls-only craft night fostered creativity and social interaction, making it an ideal setting for crafting. Here’s how to bring your creative vision to life:
- Prepare Your Workspace: Start by clearing a flat surface. Lay down a protective covering to catch any spills, so you can craft without worry.
- Cut Your Base Material: If your base material isn't already cut, aim for squares or circles around 4x4 inches. This size is ideal for a custom coaster and fits comfortably in hand.
- Design Your Custom Coaster: Now comes the fun part! Arrange your layout elements on the base. Don’t hesitate to experiment with different arrangements until you find one that truly speaks to you.
- Adhere the Design: Apply a thin layer of adhesive to the base, then carefully place your design on top. Smooth out any bubbles for a flawless finish.
- Seal the Coaster: Once the adhesive is dry, it’s time to protect your masterpiece. Apply a finish to seal your item, following the product instructions closely. Allow it to dry completely.
- Final Touches: For an extra layer of care, attach felt pads to the underside of your drink holder. This will safeguard your furniture against scratches.
For an added creative touch, consider using scrapbook papers. You can glue cut-out images onto blank surfaces and seal them for a personalized flair.
By following these steps, you’ll create beautiful custom coasters that are both practical and a reflection of your personal style. As Rebecca D. Dillon, a passionate DIY-er, puts it, "Crafting allows us to express ourselves and connect with others."
Remember, a recent DIY project was shared 101 times among friends, showcasing just how much joy and connection crafting can bring.

Designing and Personalizing Your Custom Coasters
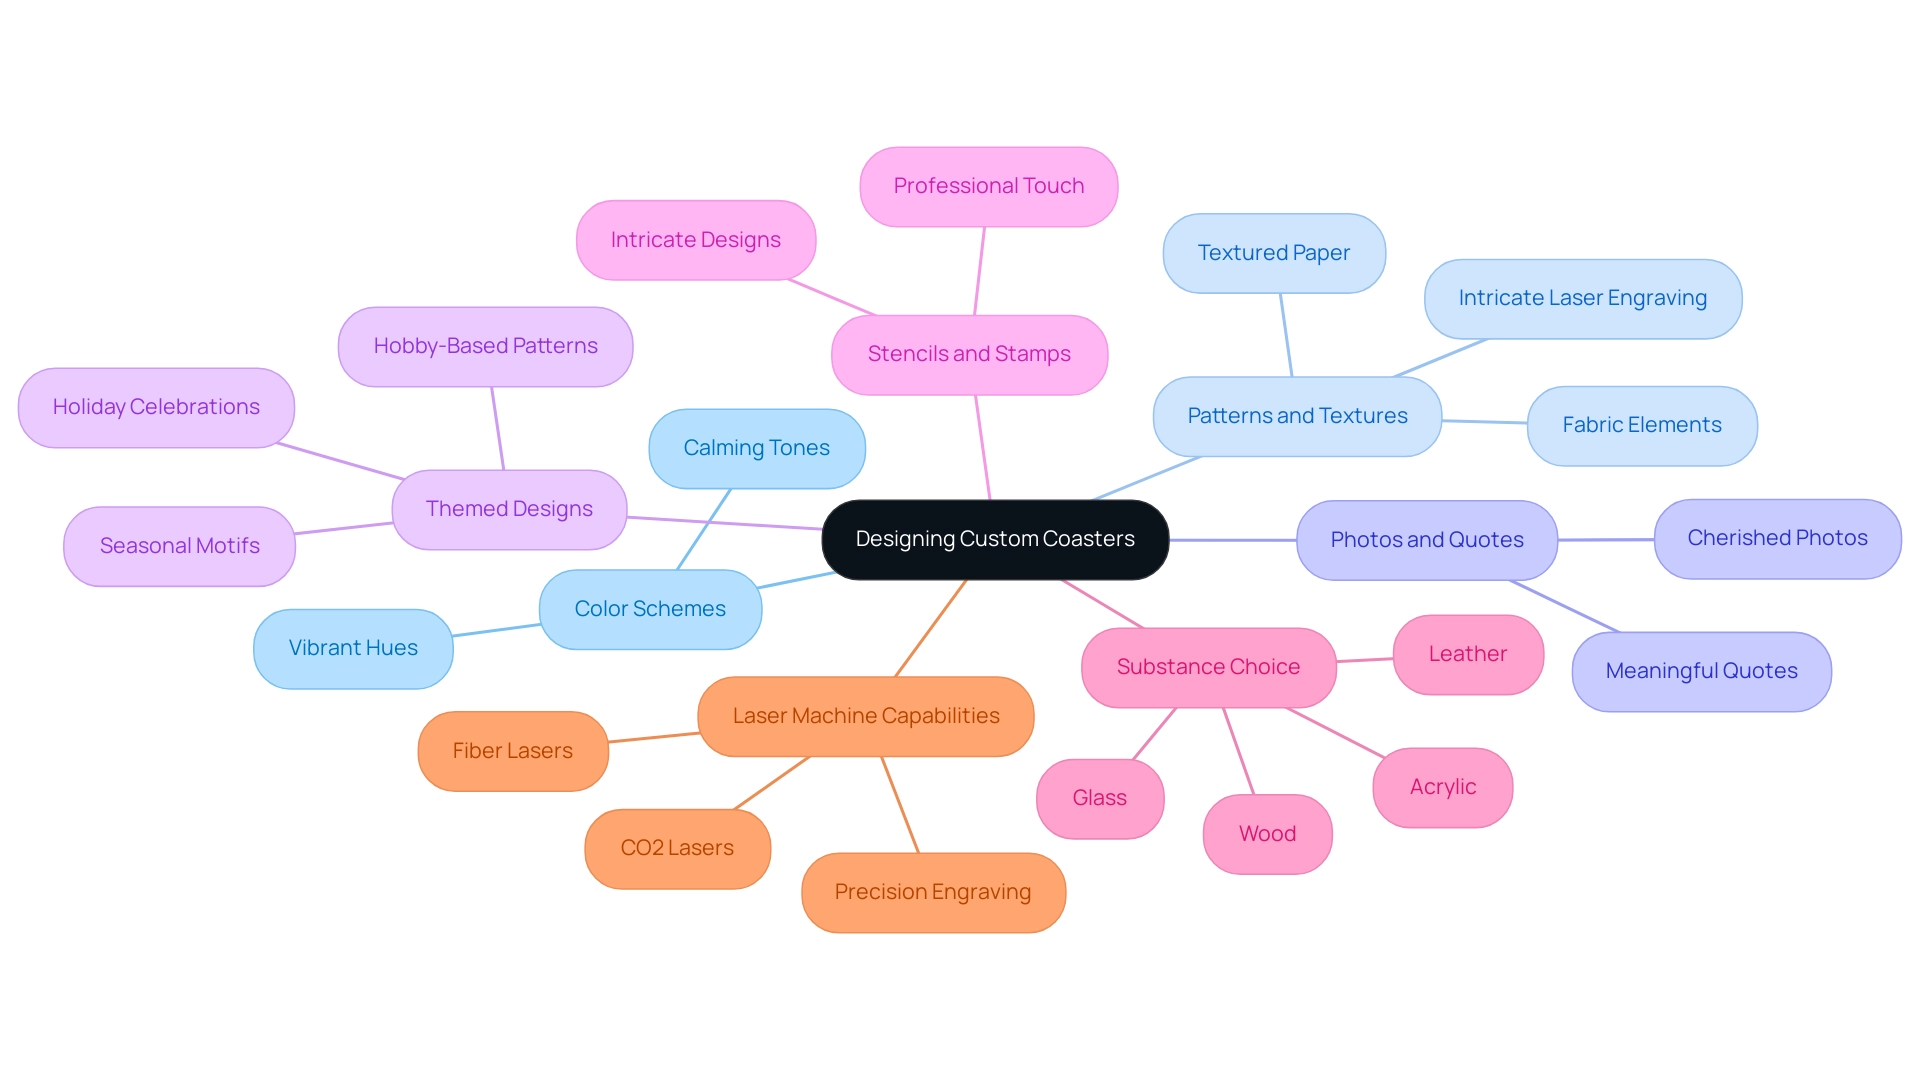
When it comes to creating your personalized designs, the possibilities are as limitless as your imagination, especially with the power of advanced laser engraving technology at your disposal. Here are some creative personalization techniques to help you craft drink mats that truly reflect your style, along with insights from the industry:
-
Color Schemes: Think about colors that resonate with your home décor or your personal aesthetic.
Whether you choose vibrant hues or calming tones, using paint, markers, or colored paper can transform a simple item into a stunning decor piece. As noted in recent trends, color schemes play a crucial role in personalized home decor items. -
Patterns and Textures: Don’t shy away from experimenting with various textures!
Incorporating elements such as fabric or textured paper can add a rich, tactile depth to your creations. Consider laser engraving intricate patterns that not only enhance functionality but also serve as conversation starters. This reflects the complex patterns observed in the amusement sector, where the sensation of the ride can improve the overall experience. -
Photos and Quotes: Personal touches can make all the difference.
Incorporate cherished photos or meaningful quotes that spark joy and connection with you and your loved ones, potentially through custom laser engraving. As REGIE mentioned, “Wooden rides likely function quite differently from steel rides,” emphasizing the distinct features that can influence your ride selection. -
Themed Designs: Consider creating a cohesive set of drink mats based on a specific theme.
Whether it’s seasonal motifs, holiday celebrations, or your favorite hobbies, themed patterns can elevate your home’s ambiance. The accuracy of laser engraving guarantees that quality and theme consistency are essential in both mat creation and home decor. -
Stencils and Stamps: For those who love intricate designs but may lack advanced skills, stencils and stamps are your best friends!
They permit you to effortlessly design stunning patterns and add a professional touch to your items, much like the craftsmanship seen in laser engraving. Just as ride operators require training to handle different types of attractions, mastering these techniques can enhance your creations. -
Substance Choice: Think about the components you wish to use for your drink mats.
Laser engraving works beautifully on a variety of surfaces, including wood, leather, glass, and acrylic. Every substance presents distinct visual characteristics and longevity, guaranteeing your items not only appear appealing but also endure for a long time. -
Laser Machine Capabilities: Utilizing advanced laser machines, such as our powerful CO2 and fiber lasers, allows for precision engraving on these substances.
The high wattage and spacious work areas allow for intricate designs and deep cuts, ensuring your personalized items are both beautiful and functional.
So, gather your materials and let your creativity flow. Your custom coasters provide a fantastic chance to showcase your personality and add a unique touch to your home while reflecting the artistry and quality observed in the drink mat industry, all made possible through the exceptional capabilities of laser engraving!

Finishing Touches and Care for Your Custom Coasters
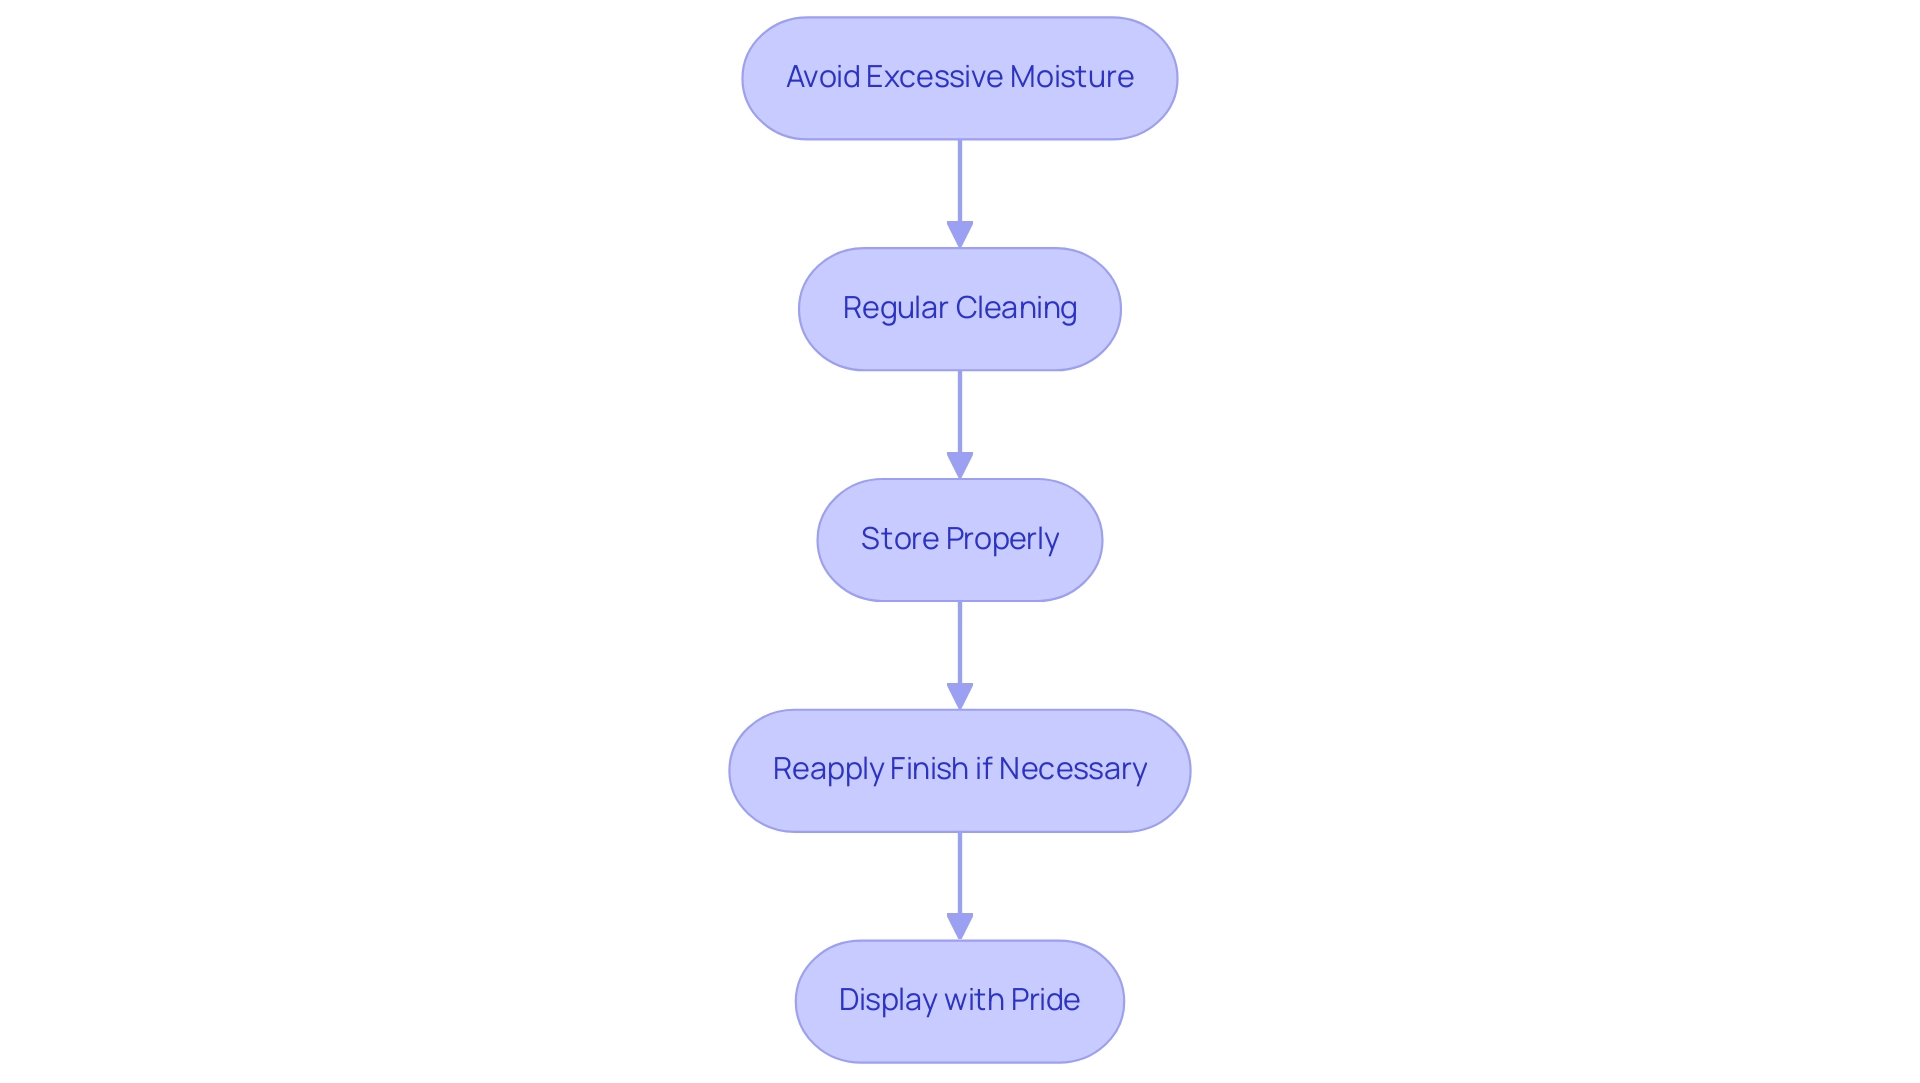
To keep your custom mats looking stunning and ensure they stand the test of time, here are some essential care tips:
- Avoid Excessive Moisture: Even though your drink mats are sealed, it's wise to steer clear of soaking them. If a spill happens, grab a damp cloth and wipe it up right away to prevent any lasting damage.
- Regular Cleaning: Treat your drink mats to a gentle clean using mild soap and water. Remember, harsh chemicals can strip away that perfect finish, so keep them at bay.
- Store Properly: When they're not in action, tuck your drink mats away in a cool, dry spot. This simple step can help prevent warping or any unexpected damage.
- Reapply Finish if Necessary: Depending on how often you use your drink mats, you might want to refresh their protective finish every few months. Just as the finishing processes in custom printing—such as protective coatings, cutting, and trimming—enhance the durability of your printed items, this small effort greatly contributes to maintaining the appearance of your drink mats.
- Display with Pride: Why not showcase your creativity? Consider showcasing your drink mats on a decorative tray or holder when they're not in use. It adds a personal touch to your decor and lets your unique style shine.
Just as Jonathan Ackley and Larry Ahern have maintained the charm of their creative works over 25 years, the care you give your drink mats can enhance their longevity and appeal. The meticulous design creation process—whether it's a logo or artwork—shares a parallel with the craftsmanship involved in your drink mats. Both require attention to detail and maintenance for optimal performance.
By following these straightforward care instructions, you'll not only preserve the beauty of your custom coaster but also enhance your brand image and customer experience, making it a beloved part of your home and marketing strategy for many years to come.

Conclusion
Creating custom coasters is an exciting venture that allows for personal expression and creativity. By gathering essential materials like base options, adhesives, and decorative elements, anyone can embark on this rewarding DIY project. The step-by-step guide provides a clear pathway to designing and assembling unique coasters that reflect individual style, whether through color schemes, textures, or themed designs.
Moreover, personalization elevates the crafting experience, transforming simple coasters into cherished keepsakes or thoughtful gifts. Techniques such as laser engraving and the use of stencils open up a world of creative possibilities, ensuring that each coaster is not only functional but also a work of art.
Taking care of these creations is vital for their longevity. By following simple maintenance tips—like avoiding excessive moisture and cleaning with mild soap—these coasters can remain vibrant and beautiful for years to come. Ultimately, crafting custom coasters is not just about the finished product; it’s about the joy of creation, connection with others, and the pride of showcasing one’s unique style in any home. So gather those materials, unleash your creativity, and enjoy the wonderful journey of coaster crafting!


