Introduction
In a world where personal care is increasingly about customization, crafting your own chapstick emerges as a delightful way to express individuality while nurturing the lips. This DIY project not only allows for the selection of nourishing ingredients but also opens the door to a variety of flavors and scents that can be tailored to personal preferences.
As people become more conscious of the products they use, the allure of homemade cosmetics is undeniable. With a few essential ingredients and tools, anyone can embark on this creative journey, transforming simple components into a luxurious lip balm that reflects their unique style.
Whether for personal use or as heartfelt gifts, the benefits of making chapstick at home are plentiful and rewarding.
Essential Ingredients and Tools for Custom Chapstick
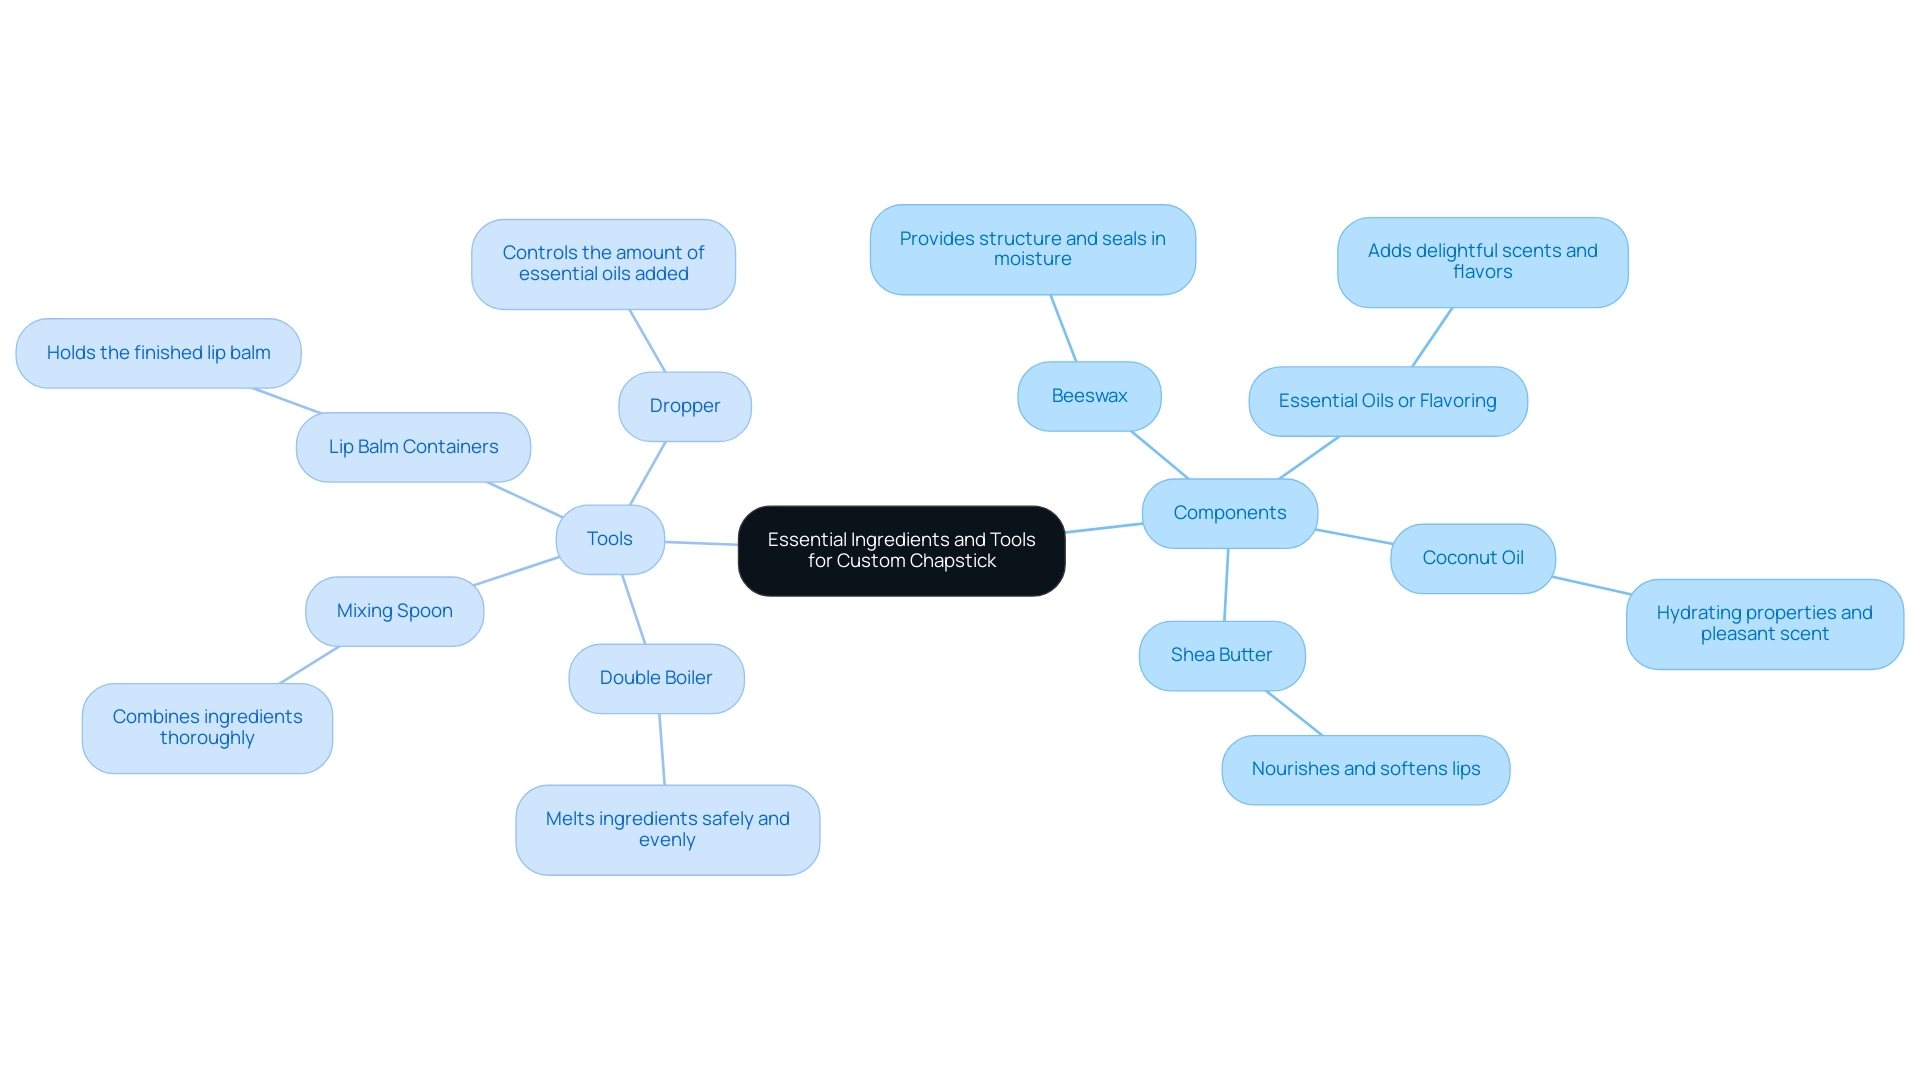
Creating your own personalized lip balm, also known as custom chapstick, is an exciting venture that allows you to tailor the perfect lip care solution just for you! With the personalized lip care market, particularly custom chapstick, being the world’s highest revenue-generating sector due to the expanding e-commerce industry, it’s clear that investing in quality components is crucial. Below are the crucial components and tools you'll require to begin this enjoyable DIY project.
Components:
- Beeswax: This natural marvel not only offers structure to your balm but also excels in sealing in moisture, keeping your mouth soft and hydrated. Given the increasing concerns about dryness and sun exposure, beeswax is a valuable addition to any lip care product.
- Coconut Oil: Known for its hydrating properties, coconut oil adds a lovely scent to your balm, making each application a treat for the senses. Its moisturizing benefits tackle the common issues encountered by numerous consumers, making it a sought-after element in the lip care market.
- Shea Butter: A luxurious component that nourishes and softens your lips, shea butter is a must-have for that smooth, kissable finish. With the demand for high-quality lip care products on the rise, shea butter remains a favorite among DIY enthusiasts.
- Essential Oils or Flavoring: Elevate your lip balm with delightful scents and flavors! Consider popular options like peppermint for a refreshing twist or vanilla for a sweet touch.
Tools:
- Double Boiler: A double boiler is essential for melting your ingredients safely and evenly, ensuring a perfect blend.
- Mixing Spoon: Use a mixing spoon to thoroughly combine your ingredients, creating a seamless mixture that works harmoniously.
- Lip Balm Containers: Don’t forget to have some containers ready to hold your beautiful creations—your finished lip balm deserves a proper home!
- Dropper: For precision when adding essential oils, a dropper is your best friend, allowing you to control the amount and achieve just the right scent.
Gather these materials, and you’ll be well on your way to creating custom chapstick that not only feels great but also reflects your unique style and preferences! With the rising interest in natural components for lip balm formulations, this DIY project aligns perfectly with current market trends.
Step-by-Step Guide to Crafting Your Own Chapstick
Creating your own custom chapstick is a fun and rewarding experience. Follow these simple steps to craft a product that’s perfect for you or as a thoughtful gift:
-
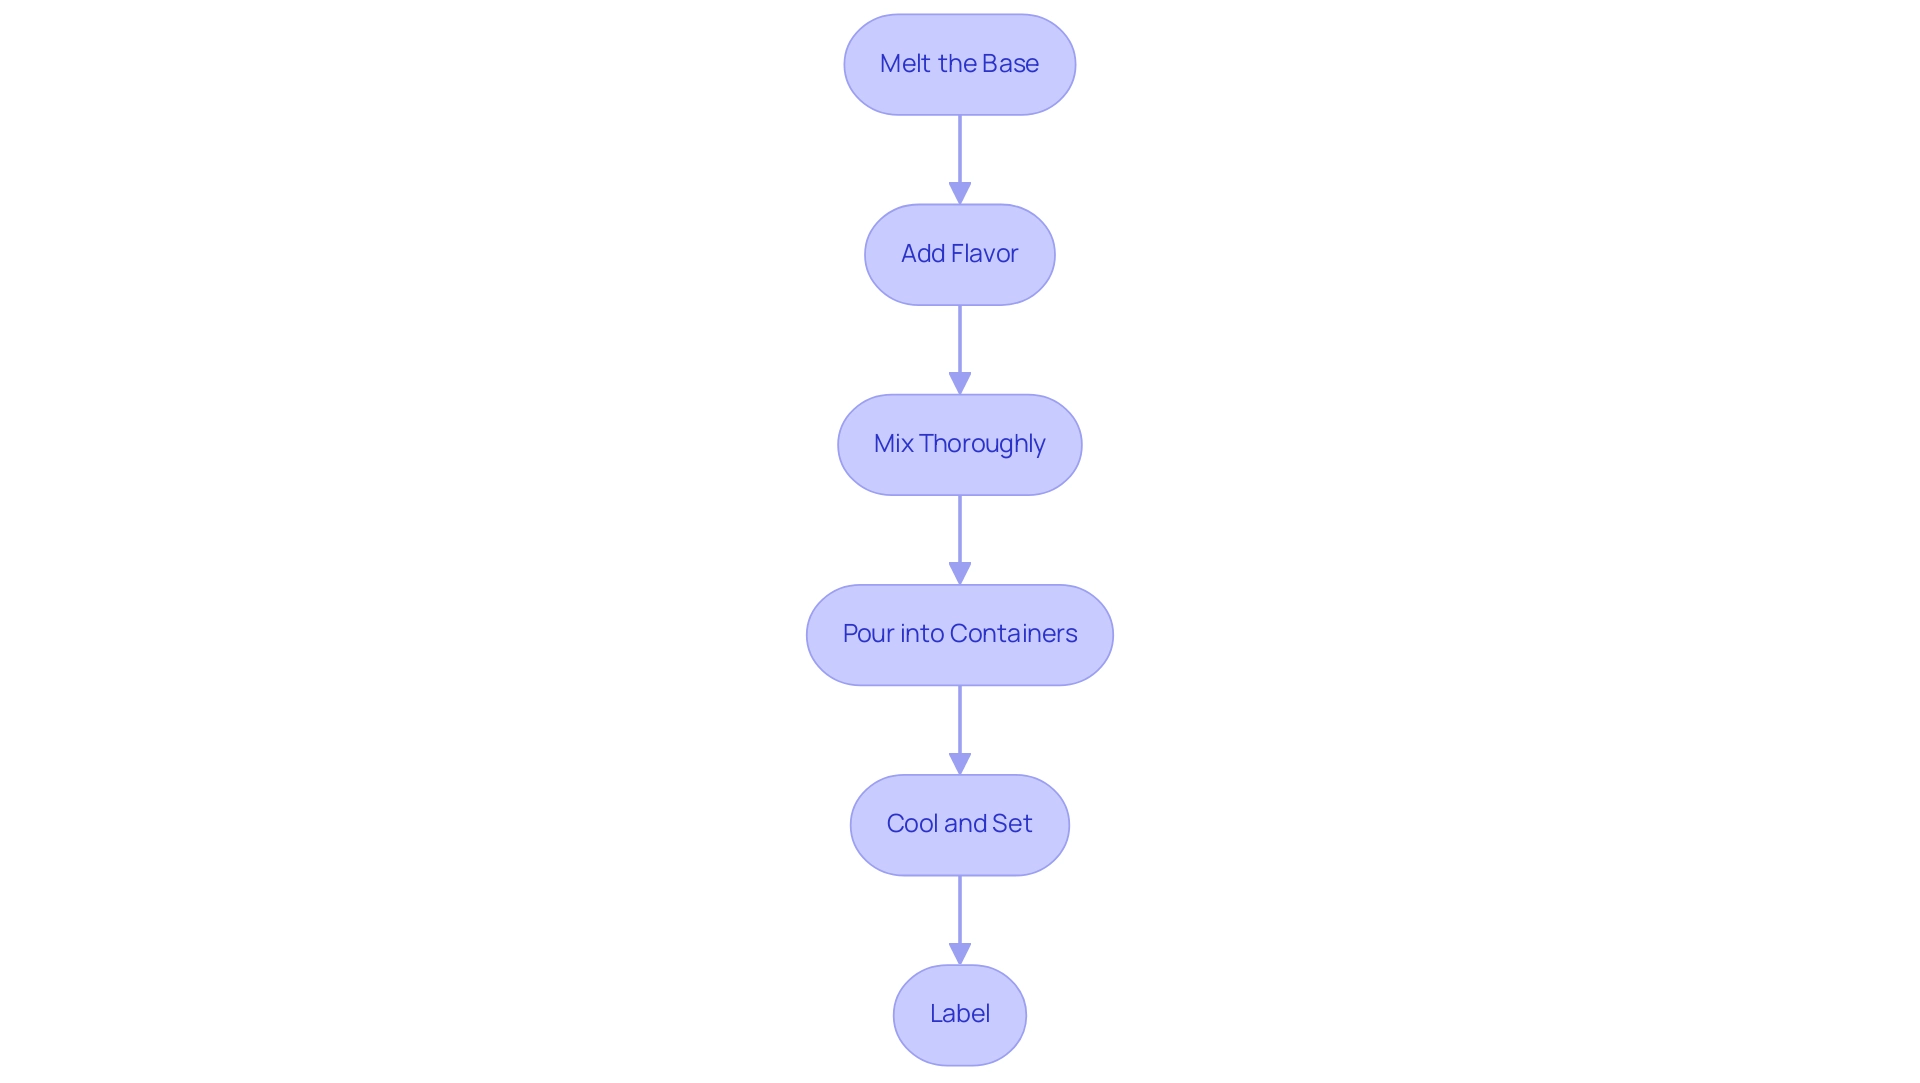
Melt the Base: Begin by setting up a double boiler. Combine equal parts of beeswax, coconut oil, and shea butter—this creates a nourishing base. Heat the mixture gently, stirring occasionally until fully melted, allowing the ingredients to blend seamlessly.
-
Add Flavor: Once your base is melted, remove it from the heat. This is the moment to infuse your lip balm with delightful scents or flavors. Add a few drops of essential oils or flavoring—start small and adjust according to your preference for a uniquely aromatic touch.
-
Mix Thoroughly: With your flavors added, stir the mixture thoroughly, ensuring that every bit of flavor is evenly distributed throughout the blend. This step is crucial for a consistent taste experience.
-
Pour into Containers: Carefully pour your warm mixture into lip balm containers. Be cautious, as the mixture will be hot. Leave a little space at the top to accommodate any expansion as it cools.
-
Cool and Set: Allow your lip balm to cool completely. This will give it a firm texture that’s easy to apply. Patience is key here—rushing this step can lead to a less desirable consistency.
-
Label: Finally, consider marking your lip balm with its flavor and the date it was made. This not only helps with easy identification but also adds a personal touch.
In creating your lip balm, it’s essential to prioritize safety and compliance. According to microbiological analysis standards, homemade cosmetics should show zero total plate count, coliforms, molds, and yeasts in the absence of moisture. As you explore this creative process, remember that the safety of your product can be substantiated through reliable ingredient sourcing and adherence to best practices, as emphasized by the FDA: "the safety of a product can be adequately substantiated through... reliance on already available toxicological test data on individual ingredients and on product formulations that are similar in composition to the particular cosmetic."
With these steps, you've created a custom chapstick that’s perfect for daily use or as a charming gift! Enjoy the satisfaction of crafting something uniquely yours, and consider sharing your success stories or variations with others who might be inspired to join in on the fun. For those interested in expanding their skills, a cosmetic formulation kit, which includes 12 essential tools for starting organic skincare formulation, could be a valuable resource.
Exploring Customization Options: Flavors and Packaging
Customization is what transforms your custom chapstick into a personal statement! Here are some delightful options to get you started:
Flavors:
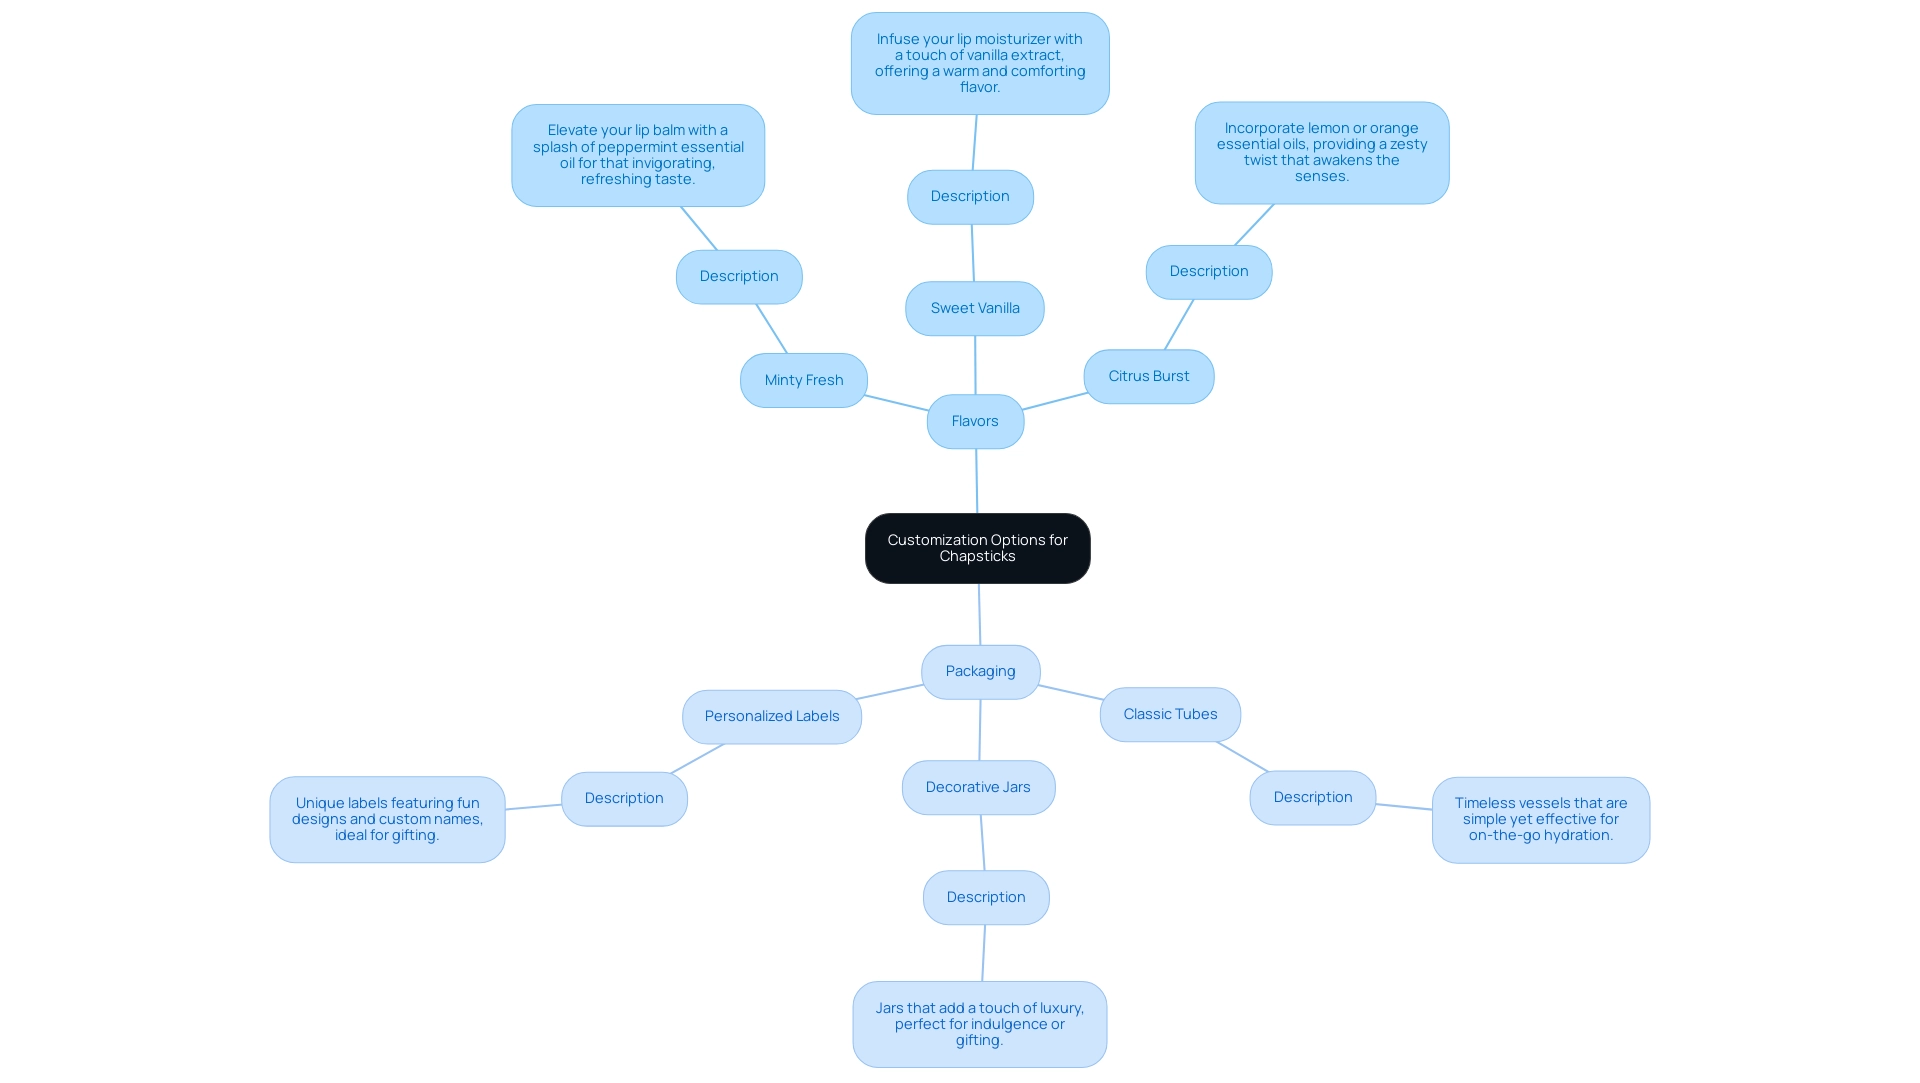
- Minty Fresh: Elevate your lip balm with a splash of peppermint essential oil for that invigorating, refreshing taste.
- Sweet Vanilla: Infuse your lip moisturizer with a touch of vanilla extract, offering a warm and comforting flavor that feels like a cozy embrace.
- Citrus Burst: Brighten your day by incorporating lemon or orange essential oils, providing a zesty twist that awakens the senses.
Packaging:
- Classic Tubes: These timeless vessels are simple yet effective, ensuring your balm is ready for on-the-go hydration.
- Decorative Jars: Opt for jars that add a touch of luxury, perfect for those moments when you want to indulge yourself or impress someone special.
- Personalized Labels: Craft unique labels featuring fun designs and custom names, making your creations ideal for gifting.
Practical Example:
To prepare a DIY Grapefruit lip-balm, melt 1 tablespoon of shea butter, 1 tablespoon of castor oil, and 2 tablespoons of coconut oil over low-to-medium heat. Add ½ teaspoon of grapefruit essential oil, mix, and transfer to a container for half an hour before use. This not only allows for customization but also adds a refreshing twist to your lip care routine.
Market Insights:
Interestingly, Hurraw! Balm emphasizes the importance of using vegan, raw, organic, and fair trade ingredients in their products, showcasing the growing trend towards sustainable and ethical cosmetics. Additionally, consider that 100 pieces with 1 flavor can cost around $145.00, providing a financial perspective on the customization of lip care products. Select flavors and packaging that resonate with your personality or the recipient’s preferences, transforming each lip balm into a unique custom chapstick that is a heartfelt creation!
Why Create Your Own Custom Chapstick? Benefits and Uses
Crafting your own custom chapstick is not just a fun DIY project; it offers a multitude of benefits that elevate your lip care routine:
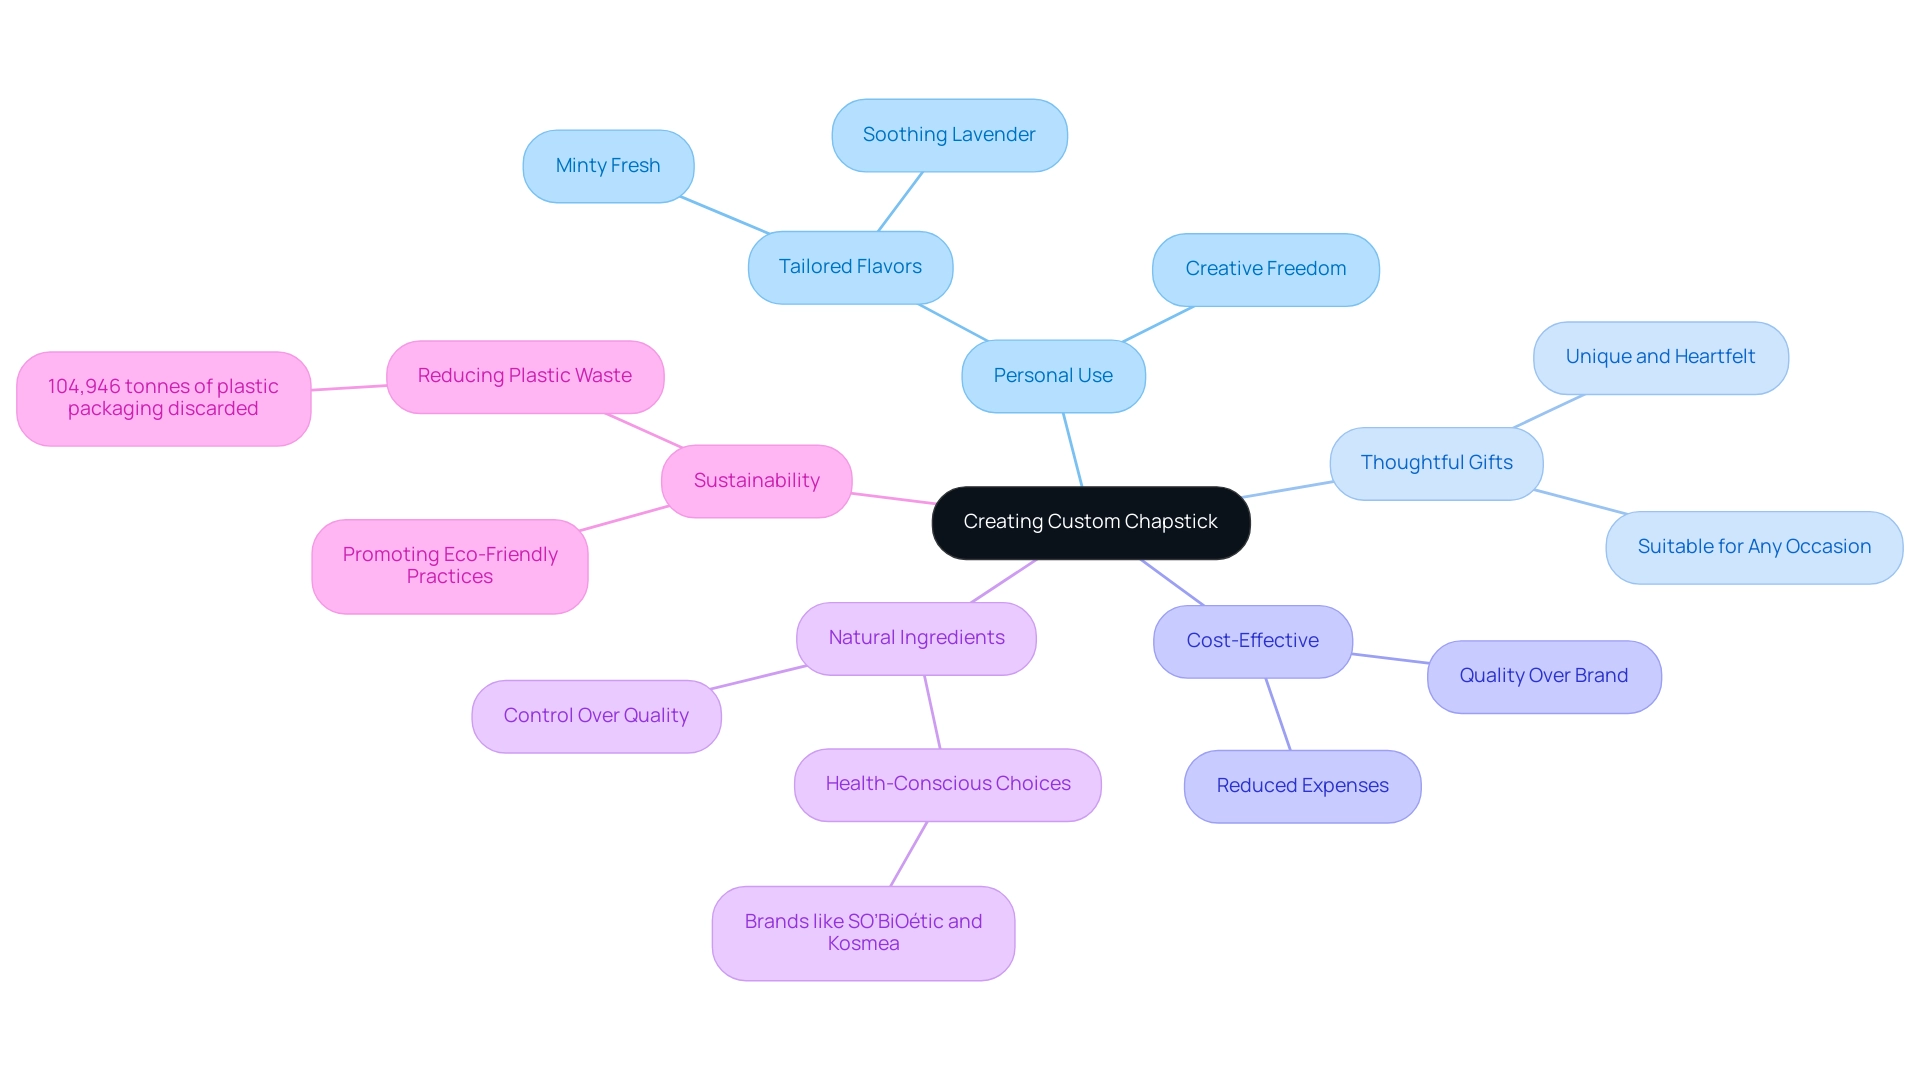
- Personal Use: You have the creative freedom to tailor flavors and scents to your liking. Imagine whipping up a minty fresh or a soothing lavender blend that perfectly aligns with your preferences, ensuring a product you genuinely adore.
- Thoughtful Gifts: Homemade lip balm shines as a unique and heartfelt gift. Whether for a birthday or a holiday, your friends and family will appreciate the time, effort, and personal touch that comes with a hand-crafted balm.
- Cost-Effective: Why splurge on high-end brands when you can create your own? Creating lip balm at home can significantly reduce expenses while delivering quality. With the average spending on beauty items rising, embracing DIY can be a smart financial choice.
- Natural Ingredients: When you make chapstick yourself, you control the quality of the ingredients. This means you can choose natural ingredients that nourish your skin without the harsh chemicals typically present in commercial items. In fact, brands like SO’BiOétic and Kosmea are introducing new offerings to cater to the growing demand for natural skincare, reflecting a broader trend towards health-conscious beauty choices.
By embracing the joy of making your own custom chapstick, you not only create an item that reflects your personality but also contribute to a healthier beauty routine. As Brian Moore, VP of NICCA USA, Inc., emphasizes, "The quality of the ingredients you choose can significantly impact your skincare experience." This is especially relevant as consumers increasingly seek out products that are both effective and environmentally friendly.
Consider the staggering statistic that 104,946 tons of plastic packaging are discarded (and not recycled) during Christmas in the UK; creating your own lip balm can help reduce this waste and promote sustainability. So why not start this delightful journey of personalization today?
Troubleshooting and FAQs: Common Issues in Chapstick Making
Creating your own custom chapstick can be an exciting DIY project, but it’s not without its challenges. Comprehending the context of natural versus synthetic components can enhance your experience. There are prevalent claims online that natural cosmetics are superior to synthetic options, which can influence your choice of ingredients.
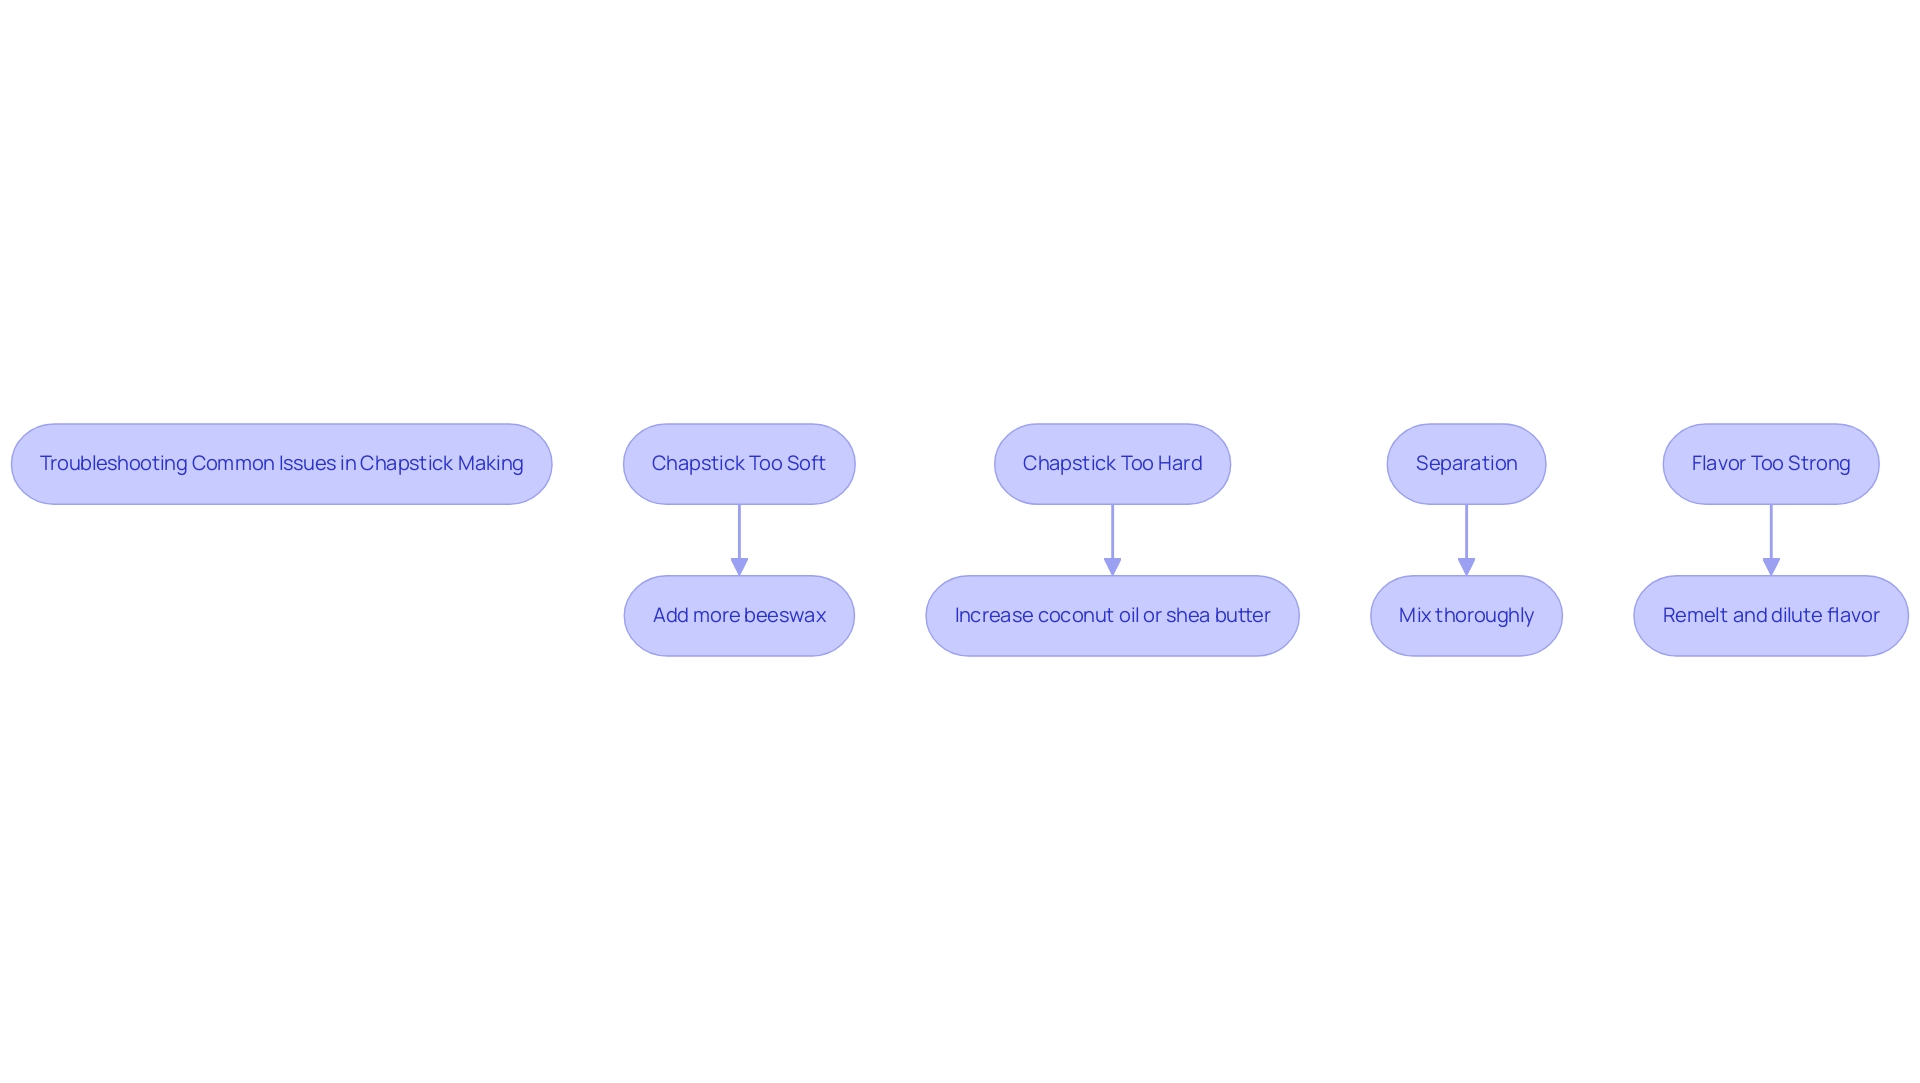
Here are some common issues you might run into while whipping up your lip balm, along with handy solutions:
- Chapstick Too Soft: If your chapstick turns out to be too soft, don’t worry! Just add a bit more beeswax to the mixture next time. This will help firm it up nicely, aligning with the natural approach many prefer.
- Chapstick Too Hard: On the flip side, if your chapstick is rock hard, consider increasing the ratio of coconut oil or shea butter. This will give your lip balm a creamier consistency that's easier to apply, which is often sought after in personalized lip care products.
- Separation: Have you noticed that your components are separating? This can be a common hiccup. Ensure you mix thoroughly before pouring the mixture into containers—this helps keep everything blended beautifully.
- Flavor Too Strong: If the flavor is a bit overpowering for your taste, you can easily fix this. Simply remelt your chapstick and add more base components to dilute the flavor to your liking.
Ingredient Safety Considerations
It's essential to consider the safety of your ingredients. A population study conducted by the CDC demonstrated that 97% of individuals tested had been exposed to one or more phthalates, which raises concerns about the safety of components in cosmetics. As environmental advocate Sujatha Jahagirdar states, "The concerns that are focused around this particular chemical class have arisen from a series of tests and studies that have been released recently that point to significant potential health concerns."
FAQs:
- Can I use other oils? Absolutely! Feel free to experiment with different oils like almond or jojoba for unique benefits and scents.
- How long does it last? Homemade chapstick typically lasts up to a year if stored properly in a cool, dry place.
With these handy tips and answers, you’re well-equipped to tackle any challenges that might arise in your adventure of making custom chapstick! Dive in and enjoy the process—you'll have custom chapstick that’s tailored just for you, all while being mindful of the ingredients you choose.
Conclusion
Crafting custom chapstick is more than just a fun DIY project; it’s a creative expression that brings together personal preferences, quality ingredients, and thoughtful design. By selecting nourishing components like:
- beeswax
- coconut oil
- shea butter
individuals can ensure their lip balm not only feels great but also aligns with their values of natural and sustainable beauty. The step-by-step process outlined allows anyone to embark on this journey, creating a product that is uniquely theirs or a heartfelt gift for loved ones.
Customization extends beyond ingredients to flavors and packaging, making each chapstick a personal statement. Whether opting for a refreshing mint or a sweet vanilla, the possibilities are endless. Additionally, the cost-effectiveness and control over ingredients make homemade chapstick an appealing choice in a world where consumers are increasingly conscious of what they apply to their skin.
In a time when sustainability is paramount, making chapstick at home not only reduces reliance on plastic packaging but also fosters a deeper connection to the products used daily. This delightful endeavor not only nurtures the lips but also encourages creativity and mindfulness in personal care choices. Embrace the joy of crafting and the benefits it brings—both to oneself and the environment—by starting the journey of custom chapstick creation today.


